


春季@PropertySource註釋用於向Spring環境提供屬性文件。此註釋與@Configuration類一起使用。Spring PropertySource註釋可重複使用,這意味著您可以在配置類上擁有多個PropertySource。如果您使用的是Java 8或更高版本,則可以使用此功能。
Spring PropertySource示例
讓我們快速通過一個簡單的春季應用程序,我們將從屬性文件中讀取數據庫配置詳情並創建數據庫連接。我們將在控制台上打印一些數據庫的元數據信息。創建一個簡單的maven項目並添加Spring和MySQL依賴項。您還可以使用其他數據庫來進行示例,只需相應地更改配置。
<dependency>
	<groupId>org.springframework</groupId>
	<artifactId>spring-context</artifactId>
	<version>5.0.6.RELEASE</version>
</dependency>
<dependency>
	<groupId>mysql</groupId>
	<artifactId>mysql-connector-java</artifactId>
	<version>5.1.46</version>
</dependency>
下面的圖像顯示了我們項目的最終結構,我們將逐一瀏覽所有重要組件。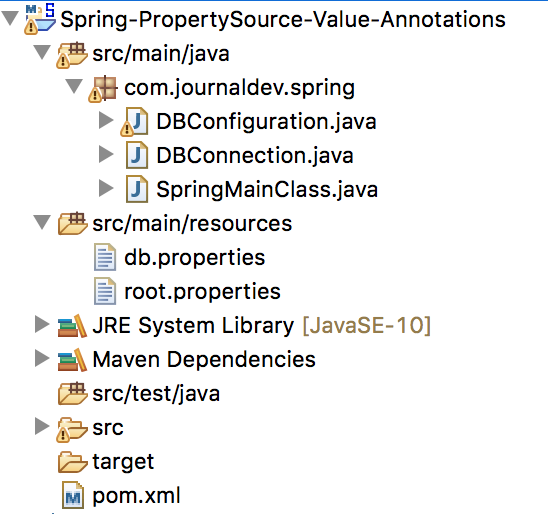 這是我們用於創建數據庫連接的類。
package com.journaldev.spring;

import java.sql.Connection;
import java.sql.DriverManager;
import java.sql.SQLException;

public class DBConnection {

	private String driverClass;
	private String dbURL;
	private String userName;
	private char[] password;
	private Connection con;

	public DBConnection(String driverClass, String dbURL, String userName, char[] password) {
		this.driverClass = driverClass;
		this.dbURL = dbURL;
		this.userName = userName;
		this.password = password;
	}

	public Connection getConnection() {
		if (this.con != null)
			return con;

		Connection con = null;
		try {
			System.out.println("Creating DB Connection");
			Class.forName(driverClass);
			con = DriverManager.getConnection(dbURL, userName, String.valueOf(password));
			System.out.println("Successfully Created DB Connection");
		} catch (ClassNotFoundException | SQLException e) {
			e.printStackTrace();
		}
		this.con = con;
		return con;
	}

	public void close() {
		System.out.println("DBConnection close called");
		if (this.con != null) {
			try {
				con.close();
			} catch (SQLException e) {
				e.printStackTrace();
			}
		}
	}
}
請注意:如果您正在創建一個真實世界的應用程序,您可以使用Spring ORM。這樣 Spring 將負責數據庫連接管理,而您可以專注於編寫業務邏輯。現在讓我們創建 Spring 配置類,在這裡我們將使用PropertySource註解。
package com.journaldev.spring;

import org.springframework.beans.factory.annotation.Autowired;
import org.springframework.context.annotation.Bean;
import org.springframework.context.annotation.Configuration;
import org.springframework.context.annotation.PropertySource;
import org.springframework.core.env.Environment;

@Configuration
@PropertySource("classpath:db.properties")
@PropertySource("classpath:root.properties")
public class DBConfiguration {

	@Autowired
    Environment env;

	@Bean
    public DBConnection getDBConnection() {
		System.out.println("Getting DBConnection Bean for App: "+env.getProperty("APP_NAME"));
		DBConnection dbConnection = new DBConnection(env.getProperty("DB_DRIVER_CLASS"), env.getProperty("DB_URL"), env.getProperty("DB_USERNAME"), env.getProperty("DB_PASSWORD").toCharArray());
        return dbConnection;
    }

}
請注意,我正在將多個屬性文件加載到 Spring 環境中。讓我們來看看這些屬性文件的內容。db.properties
#MYSQL 數據庫配置
DB_DRIVER_CLASS=com.mysql.jdbc.Driver
DB_URL=jdbc:mysql://localhost:3306/Test
DB_USERNAME=journaldev
DB_PASSWORD=journaldev
root.properties
APP_NAME=PropertySource Example
讓我們創建主類並獲取數據庫詳情。
package com.journaldev.spring;

import java.sql.Connection;
import java.sql.SQLException;

import org.springframework.context.annotation.AnnotationConfigApplicationContext;

public class SpringMainClass {

	public static void main(String[] args) throws SQLException {
		AnnotationConfigApplicationContext context = new AnnotationConfigApplicationContext();
		context.scan("com.journaldev.spring");
		context.refresh();

		DBConnection dbConnection = context.getBean(DBConnection.class);

		Connection con = dbConnection.getConnection();

		System.out.println(con.getMetaData().getDatabaseProductName());
		System.out.println(con.getMetaData().getDatabaseProductVersion());

		// 關閉 Spring 上下文
		context.close();
	}

}
只需運行上述類作為 Java 應用程序,它將產生以下輸出。
Getting DBConnection Bean for App: PropertySource Example
Creating DB Connection
Successfully Created DB Connection
MySQL
5.7.18
DBConnection close called
為了更好地可讀性,我已經刪除了 Spring 日誌產生的調試消息,以防它們顯示在控制台中。
Spring @PropertySource 多個文件 – @PropertySources
還有另一種方式可以加載多個屬性文件用於配置類。
@PropertySources({
@PropertySource("classpath:db.properties"),
@PropertySource("classpath:root.properties")})
public class DBConfiguration {
}
從Java 8開始,PropertySource註釋變成可重複使用。對於較早的Java版本,@PropertySources是提供多個屬性文件給配置類的方式。
Spring PropertySource 覆蓋值
我們可以將多個屬性文件加載到Spring環境中。如果多個文件中存在相同的鍵,那麼最後加載的屬性文件將覆蓋先前的值。因此,如果您的屬性獲取到了不希望的值,請檢查其他屬性文件中是否存在相同的鍵,以及這些屬性文件的加載順序。
Spring PropertySource 外部文件
有時我們的配置文件位於特定位置並且不屬於項目類路徑的一部分。我們可以配置PropertySource從文件系統中加載屬性文件。
@PropertySource("file:/Users/pankaj/db.properties")
Spring PropertySource 環境變量
通知,以上配置從外部位置讀取屬性文件的設置將在我的本地系統上運作,但在其他人或服務器上卻不行。我們還可以在PropertySource中讀取系統變量,所以以下配置將對每個人都有效。
@PropertySource("file:${HOME}/db.properties")
Spring PropertySource 忽略 FileNotFoundException
如果找不到屬性文件,那麼我們將獲得FileNotFoundException。有時我們不希望拋出異常,因為我們的應用程序也可以使用默認值運行。我們可以使用PropertySource ignoreResourceNotFound 將true告訴Spring框架,如果找不到文件,則不要拋出異常。
@PropertySource(value = "classpath:root.properties", ignoreResourceNotFound=true)
這就是Spring PropertySource示例的全部內容。您可以從我們的GitHub存儲庫中檢查源代碼和Maven項目。
Source:
https://www.digitalocean.com/community/tutorials/spring-propertysource