


Varnish缓存(通常称为Varnish)是一个开源、流行的反向代理HTTP加速器,旨在加速web服务器。它专为使用频繁的API端点和为提供大量内容并经历高流量的动态站点而设计。
它基本上有助于降低CPU负载;支持对Web服务器进行负载平衡,并通过在RAM中存储缓存使Web浏览器能够快速加载站点。许多大公司使用它,包括Facebook、Twitter和Wikipedia等等。
要求
在本文中,我将解释如何在CentOS 7(也适用于RHEL 7)上安装和使用Varnish缓存6.5作为Apache Web服务器的前端。
第1步:在CentOS 7上安装Apache Web服务器
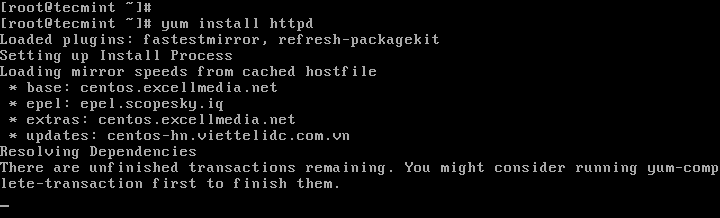
1.首先使用YUM软件包管理器从默认的CentOS软件仓库安装Apache HTTP服务器,如下所示。
# yum install httpd
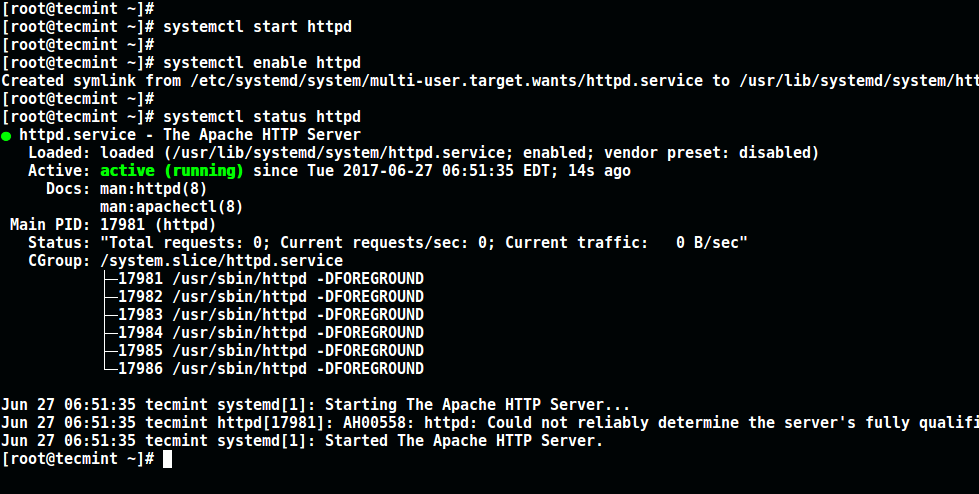
2.安装Apache后,暂时启动它并启用系统引导时自动启动。
# systemctl start httpd
# systemctl enable httpd
# systemctl status httpd
3.接下来更新系统防火墙规则,允许通过以下命令允许端口80的传入数据包。
# firewall-cmd --zone=public --permanent --add-service=http
# firewall-cmd --reload

第2步:在CentOS 7上安装Varnish Cache
4.现在有最新版本的Varnish Cache 6(即写作时的6.5)的预编译RPM软件包,因此您需要添加官方Varnish Cache仓库。
在此之前,您需要启用EPEL仓库以安装所需的依赖包,如下所示。
# yum install -y epel-release
5.接下来,安装pygpgme,这是一个用于处理GPG签名的软件包,以及yum-utils,这是一个有用的工具集,可以在各种方式上扩展yum的原生功能。
# yum install pygpgme yum-utils
6.现在创建一个名为/etc/yum.repos.d/varnishcache_varnish65.repo的文件,其中包含以下仓库配置。
# vi /etc/yum.repos.d/varnishcache_varnish65.repo
重要:确保将下面配置中的el和7替换为您的Linux发行版和版本:
[varnishcache_varnish65]
name=varnishcache_varnish65
baseurl=https://packagecloud.io/varnishcache/varnish65/el/7/$basearch
repo_gpgcheck=1
gpgcheck=0
enabled=1
gpgkey=https://packagecloud.io/varnishcache/varnish65/gpgkey
sslverify=1
sslcacert=/etc/pki/tls/certs/ca-bundle.crt
metadata_expire=300

[varnishcache_varnish65-source]
name=varnishcache_varnish65-source
baseurl=https://packagecloud.io/varnishcache/varnish65/el/7/SRPMS
repo_gpgcheck=1
gpgcheck=0
enabled=1
gpgkey=https://packagecloud.io/varnishcache/varnish65/gpgkey
sslverify=1
sslcacert=/etc/pki/tls/certs/ca-bundle.crt
metadata_expire=300
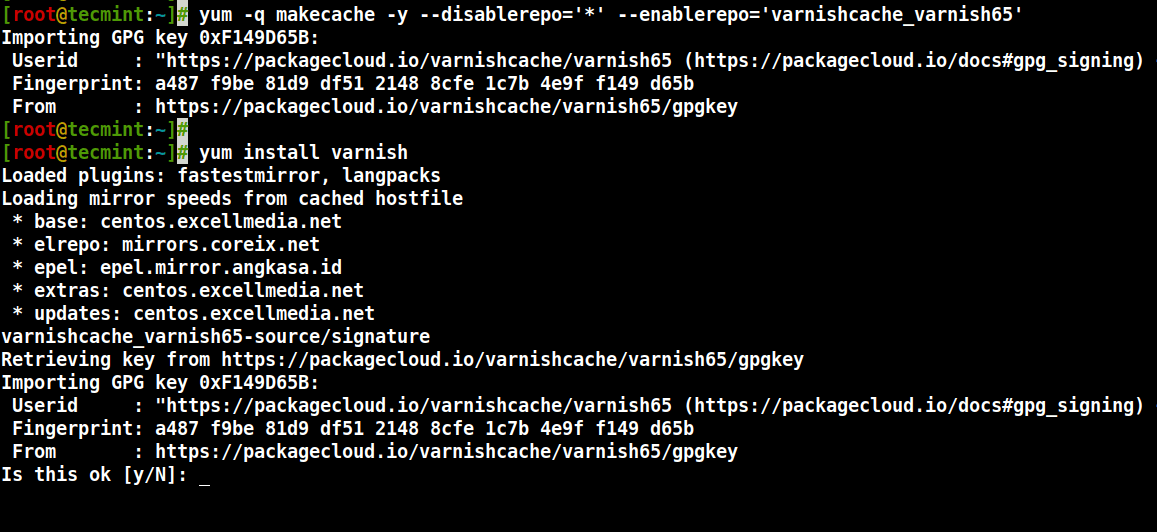
7.现在运行以下命令来更新本地的yum缓存并安装varnish cache软件包(在安装软件包时不要忘记通过输入y或yes来接受GPG密钥):
# yum -q makecache -y --disablerepo='*' --enablerepo='varnishcache_varnish65'
# yum install varnish
8. 安装Varnish Cache后,主要可执行文件将安装在/usr/sbin/varnishd,而Varnish配置文件位于/etc/varnish/:
- /etc/varnish/default.vcl – 这是主要的Varnish配置文件,使用Varnish配置语言(VCL)编写。
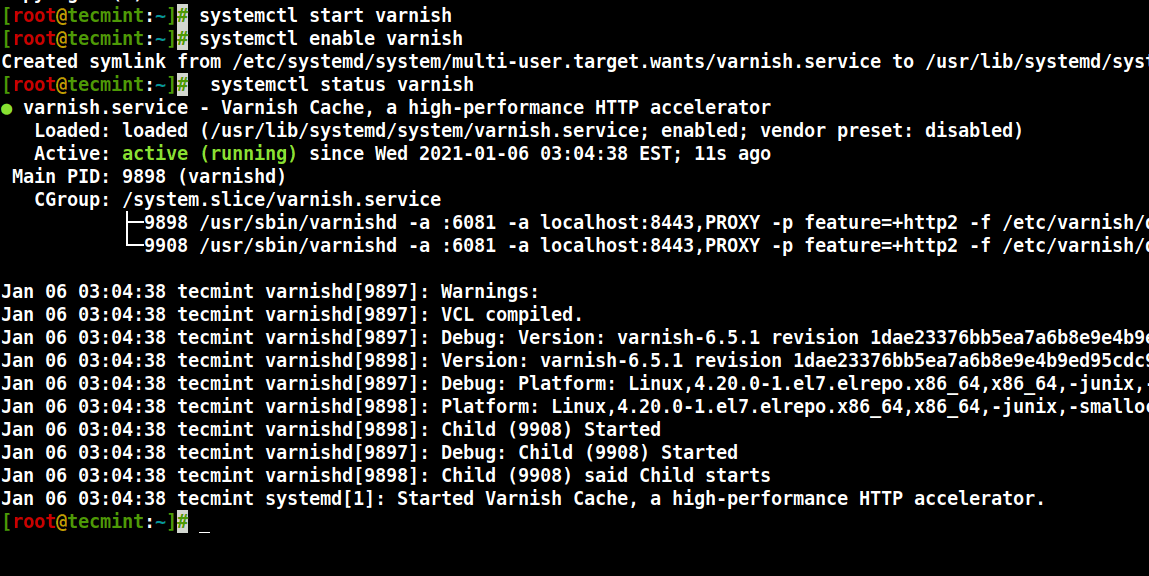
9. 现在启动Varnish服务,启用自动在系统引导时启动,并验证其状态以确保它正在运行中,如下所示。
# systemctl start varnish
# systemctl enable varnish
# systemctl status varnish
10. 您可以通过查看Varnish可执行文件的位置和系统上安装的版本来确认Varnish安装是否成功。
$ which varnishd
$ varnishd -V
示例输出
varnishd (varnish-6.5.1 revision 1dae23376bb5ea7a6b8e9e4b9ed95cdc9469fb64)
Copyright (c) 2006 Verdens Gang AS
Copyright (c) 2006-2020 Varnish Software
步骤3:配置Apache以与Varnish Cache配合工作
11. 现在配置Apache以与Varnish Cache配合工作。默认情况下,Apache侦听端口80,您需要将默认的HTTPD端口更改为8080 – 这将确保HTTPD在Varnish缓存后运行。
您可以使用sed命令将端口80更改为8080,如下所示。
# sed -i "s/Listen 80/Listen 8080/" /etc/httpd/conf/httpd.conf
注意:此外,您需要更改每个要通过Varnish提供服务的网站的虚拟主机配置中的端口。这是我们测试站点的配置(/etc/httpd/conf.d/tecmint.lan.conf)。
<VirtualHost *:8080>
    DocumentRoot "/var/www/html/tecmint.lan/"
    ServerName www.tecmint.lan
    # Other directives here
</VirtualHost>
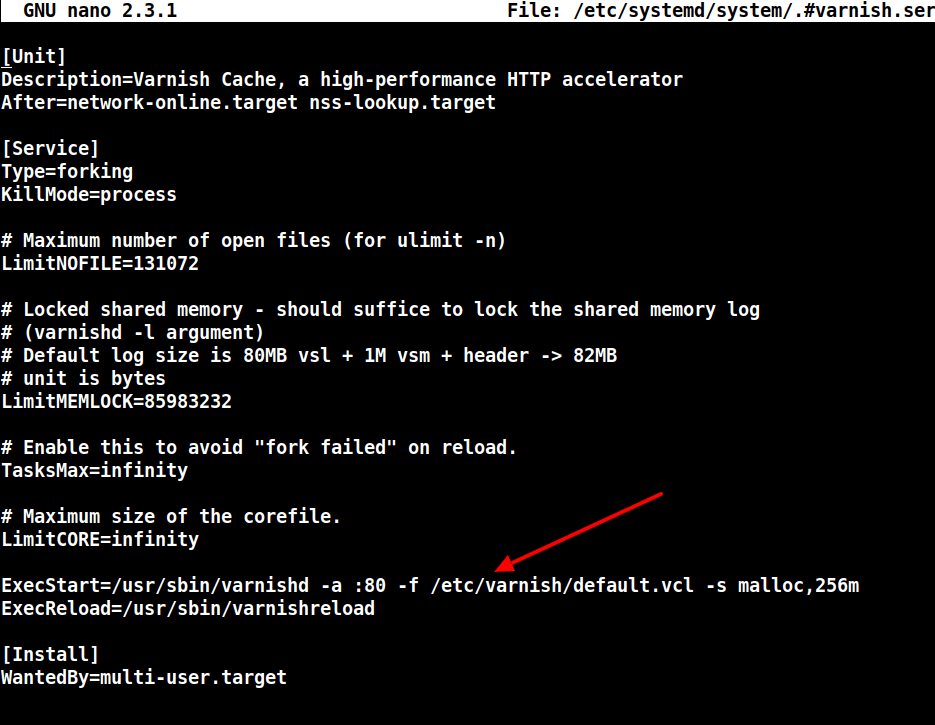
12. 接下来,打开Varnish systemd配置文件,找到参数ExecStart,该参数指定Varnish监听的端口,并将其值从6081更改为80,如截图所示。
# systemctl edit --full varnish
完成后,配置应如下所示。
ExecStart=/usr/sbin/varnishd -a :80 -f /etc/varnish/default.vcl -s malloc,256m
13. 接下来,在/etc/varnish/default.vcl配置文件中设置Apache作为Varnish代理的后端服务器。
# vi /etc/varnish/default.vcl
找到backend部分,并定义主机IP和端口。以下是默认的后端配置,请将其设置为指向实际内容服务器。
backend default {
    .host = "127.0.0.1";
    .port = "8080";
}
如果您的后端服务器在具有地址10.42.1.10的不同服务器上运行,则主机参数应指向此IP地址。
backend server1 {
    .host = "10.42.1.10";
    .port = "8080";
}
14. 完成所有必要的配置后,重新启动HTTPD和Varnish缓存以使上述更改生效。
# systemctl daemon-reload
# systemctl restart httpd
# systemctl restart varnish
第四步:在Apache上测试Varnish缓存
15. 最后,使用下面的HTTPD服务和cURL命令测试Varnish是否启用并正常工作,该命令可用于查看HTTP标头。
# curl -I http://localhost
示例输出
HTTP/1.1 200 OK
Date: Wed, 06 Jan 2021 08:36:07 GMT
Server: Apache/2.4.6 (CentOS)
Last-Modified: Thu, 16 Oct 2014 13:20:58 GMT
ETag: "1321-5058a1e728280"
Accept-Ranges: bytes
Content-Length: 4897
Content-Type: text/html; charset=UTF-8
X-Varnish: 131085
Age: 0
Via: 1.1 varnish (Varnish/6.5)
Connection: keep-alive
更多信息,请查看Varnish缓存Github存储库:https://github.com/varnishcache/varnish-cache
在本教程中,我们解释了如何在CentOS 7上为Apache HTTP服务器设置Varnish Cache 6.5代理。如果您有任何疑问或额外想法要分享,请使用下面的反馈表单写信给我们。
Source:
https://www.tecmint.com/install-varnish-cache-on-centos-7-for-apache/