


作者选择了自由开源基金作为为捐赠而写计划的一部分来接受捐赠。
介绍
Flask是一个轻量级的Python Web框架,为使用Python语言创建Web应用程序提供了有用的工具和特性。SQLAlchemy是一个SQL工具包,为关系数据库提供了高效和高性能的数据库访问。它提供了与多个数据库引擎(如SQLite、MySQL和PostgreSQL)交互的方式。它让您可以访问数据库的SQL功能。它还提供了一个对象关系映射器(ORM),允许您使用Python对象和方法进行查询和处理数据。Flask-SQLAlchemy是一个Flask扩展,使得在Flask应用程序中使用SQLAlchemy更加容易,通过SQLAlchemy在您的Flask应用程序中与数据库进行交互提供了工具和方法。
A many-to-many database relationship is a relationship between two database tables where a record in each table can reference several records in the other table. For example, in a blog, a table for posts can have a many-to-many relationship with a table for storing authors. Each post can have many authors, and each author can write many posts. Therefore, there is a many-to-many relationship between posts and authors. For another example, in a social media application, each post may have many hashtags, and each hashtag may have many posts.
在本教程中,您将通过在使用Flask和Flask-SQLAlchemy构建的应用程序中添加多对多关系来修改它。您将建立帖子和标签之间的关系,其中每篇博客文章可以拥有多个标签,而每个标签可以有多篇带有它的标记的文章。
虽然您可以独立跟随此教程,但它也是 如何使用Flask-SQLAlchemy建立一对多数据库关系 教程的延续,其中您在博客应用程序中建立了一个帖子和评论之间的一对多关系的多表数据库。
在教程结束时,您的应用程序将具有一个新功能,用于向帖子添加标签。帖子可以被标记为多个标签,并且每个标签页面将显示所有标记有该标签的帖子。
先决条件
-
一个本地的Python 3编程环境。按照 如何安装和设置本地Python 3编程环境 系列中适用于您发行版的教程。在本教程中,我们将称我们的项目目录为
flask_app。 -
对基本的Flask概念有所了解,如路由、视图函数和模板。如果您对Flask不熟悉,请查看《如何使用Flask和Python创建您的第一个Web应用程序》和《如何在Flask应用程序中使用模板》。
-
对基本的HTML概念有所了解。您可以查阅我们的《如何使用HTML构建网站》教程系列了解背景知识。
-
(可选)在第1步中,您将克隆本教程中将要使用的博客应用程序。但是,您也可以选择完成教程如何使用Flask-SQLAlchemy进行一对多数据库关系。您可以从此页面访问最终代码。
第1步 — 设置Web应用程序
在这一步中,您将设置博客应用程序以准备进行修改。您还将查看Flask-SQLAlchemy数据库模型和Flask路由,以了解应用程序的结构。如果您已经按照先决条件部分中的教程并且仍然在本地机器上拥有代码和虚拟环境,则可以跳过此步骤。
为了演示在Flask Web应用程序中使用Flask-SQLAlchemy添加多对多关系,您将使用先前教程的应用程序代码,该代码是一个具有添加和显示帖子、对帖子进行评论以及阅读和删除现有评论功能的博客系统。
克隆存储库并将其从flask-slqa-bloggy重命名为flask_app,使用以下命令:
导航至flask_app:
然后创建一个新的虚拟环境:
激活该环境:
安装Flask和Flask-SQLAlchemy:
接下来,设置以下环境变量:
FLASK_APP指示您当前正在开发的应用程序,本例中为app.py。FLASK_ENV指定了模式。您将其设置为development以进行开发模式;这将允许您调试应用程序。请记住不要在生产环境中使用此模式。
接下来,打开Flask shell以创建数据库表:
然后导入db Flask-SQLAlchemy数据库对象,Post模型和Comment模型,并使用db.create_all()函数创建数据库表:
然后使用init_db.py程序填充数据库:
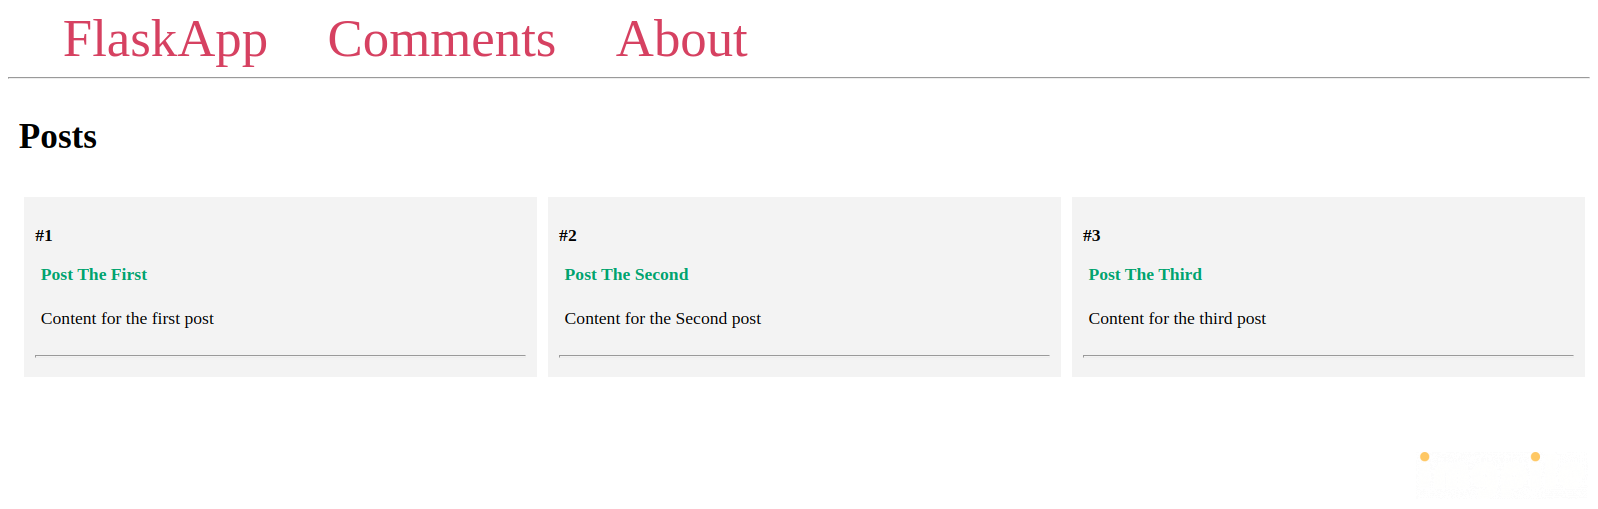
这将向数据库添加三篇帖子和四条评论。
运行开发服务器:
如果您在浏览器中打开,您将在以下URL上运行该应用程序:
http://127.0.0.1:5000/
你会看到类似以下的页面:
如果出现错误,请确保你已经正确地按照上述步骤进行了操作。
要停止开发服务器,请使用CTRL + C。
接下来,你将浏览 Flask-SQLAlchemy 数据库模型,以了解表之间当前的关系。如果你熟悉app.py文件的内容,可以跳过这一步。
打开app.py文件:
文件内容如下:
在这里,你有两个代表两个表的数据库模型:
-
Post:具有ID列、标题、内容,并与评论表存在一对多关系。 -
Comment:具有ID列、内容列,并有一个post_id列来引用评论所属的帖子。
在模型下方,你有以下路由:
/:首页,显示数据库中的所有帖子。/<int:post_id>/:单个帖子页面。例如,链接http://127.0.0.1:5000/2/显示数据库中第二个帖子的详细信息及其评论。/comments/: 一个显示数据库中所有评论并链接到每条评论所在帖子的页面。/comments/<int:comment_id>/delete: 通过一个删除评论按钮删除评论的路由。
关闭app.py文件。
在下一步中,您将使用多对多关系创建两个表之间的链接。
第2步 —— 为多对多关系设置数据库模型
在此步骤中,您将添加一个代表标签表的数据库模型。您将使用关联表来连接现有的帖子表,关联表是一个连接两个表的表,在多对多关系中起作用。多对多关系链接两个表,其中一个表中的每个项目在另一个表中有多个相关项目。在关联表中,每个帖子将引用其标签,并且每个标签引用使用该标签的帖子。您还将向数据库中插入一些帖子和标签,打印带有其标签的帖子,并打印标签及其相关帖子。
假设您有一个简单的博客帖子表如下:
Posts
+----+-----------------------------------+
| id | content                           |
+----+-----------------------------------+
| 1  | A post on life and death          |
| 2  | A post on joy                     |
+----+-----------------------------------+
和一个标签表如下:
Tags
+----+-------+
| id | name  |
+----+-------+
| 1  | life  |
| 2  | death |
| 3  | joy   |
+----+-------+
假设您想要使用life和death标签来标记A post on life and death。您可以通过在posts表中添加一行来实现这一点:
Posts
+----+-----------------------------------+------+
| id | content                           | tags |
+----+-----------------------------------+------+
| 1  | A post on life and death          | 1, 2 |
| 2  | A post on joy                     |      |
+----+------------------------------------------+
这种方法行不通,因为每个列应该只有一个值。如果您有多个值,基本操作如添加和更新数据将变得繁琐和缓慢。相反,应该有一个第三个表,该表引用相关表的主键 – 这个表通常称为关联表或连接表,并且它存储每个表中每个项的ID。
以下是一个将帖子和标签之间进行关联的关联表的示例:
post_tag
+----+---------+-------------+
| id | post_id | tag_id      |
+----+---------+-------------+
| 1  | 1       | 1           |
| 2  | 1       | 2           |
+----+---------+-------------+
在第一行中,ID为1的帖子(即A post on life and death)与ID为1的标签(life)相关联。在第二行中,相同的帖子也与ID为2的标签(death)相关联。这意味着该帖子被标记为life和death标签。类似地,您可以为每个帖子添加多个标签。
现在,您将修改app.py文件以添加一个新的数据库模型,该模型表示用于存储标签的表。您还将添加一个名为post_tag的关联表,用于将帖子与标签关联。
首先,打开app.py以建立帖子和标签之间的关系:
在db对象下面并在Post模型上面,添加一个post_tag表和一个Tag模型,然后在Post模型中添加一个tags关系伪列,以便通过post.tags访问帖子的标签,通过tag.posts访问标签的帖子:
保存并关闭文件。
在这里,你使用db.Table()函数创建一个具有两列的表。对于关联表,最佳做法是使用表而不是数据库模型。
post_tag表有两列,表示两个外键,外键用于引用另一个表中的主键列:
post_id:一个整数外键,表示帖子ID,并引用post表中的ID列。tag_id:一个整数外键,表示标签ID,并引用tag表中的ID列。
这些键建立了表之间的关系。
在post_tag表下面,创建一个Tag模型,表示你将存储标签的表。这个标签表有两列:
id:标签的ID。name:标签的名称。
你在特殊的__repr__()方法中使用标签的名称,为每个标签对象提供清晰的字符串表示,以供调试使用。
你在Post模型中添加了一个tags类变量。你使用db.relationship()方法,将标签模型的名称(在这种情况下是Tag)传递给它。
你将post_tag关联表传递给secondary参数,以建立帖子和标签之间的多对多关系。
你使用backref参数来添加一个后向引用,它的行为类似于Tag模型中的列。这样,你就可以通过tag.posts访问标签的帖子,通过post.tags访问帖子的标签。稍后你将看到一个示例来演示这一点。
接下来,编辑init_db.pyPython程序,通过添加post_tag关联表和基于Tag模型的标签表来修改数据库:
编辑文件如下:
保存并关闭文件。
这里,你导入Tag模型。你使用db.drop_all()函数删除数据库中的所有内容,以安全地添加标签和post_tag表,并避免与向数据库添加新表相关的任何常见问题。然后你使用db.create_all()函数重新创建所有表。
在前一教程的代码之后,声明了帖子和评论后,你使用Tag模型创建了四个标签。
然后,你使用tags = db.relationship('Tag', secondary=post_tag, backref='posts')这一行在app.py文件中添加的tags属性来为帖子添加标签。你使用类似于 Python 列表的append()方法为帖子分配标签。
接下来,你使用db.session.add_all()函数将创建的标签添加到数据库会话中。
注意:
db.create_all()函数如果表已存在,则不会重新创建或更新表。例如,如果你修改模型并添加了新列,然后运行db.create_all()函数,如果数据库中已存在表,则不会将你对模型的更改应用到该表中。解决方法是使用db.drop_all()函数删除所有现有的数据库表,然后使用db.create_all()函数重新创建它们,就像在init_db.py文件中演示的那样。
这个过程将应用你所做的修改到你的模型,但也会删除数据库中所有现有的数据。要更新数据库并保留现有数据,你需要使用模式迁移,它允许你修改你的表格并保留数据。你可以使用Flask-Migrate扩展通过Flask命令行界面执行SQLAlchemy模式迁移。
运行init_db.py程序来应用对数据库的更改:
程序应该成功执行而没有任何输出。如果你看到错误,请确保你已经正确地对init_db.py文件进行了更改。
要查看当前数据库中的帖子和标签,打开Flask shell:
执行以下Python代码循环遍历帖子和标签:
在这里,你从app.py导入Post模型。你查询帖子表并获取数据库中的所有帖子。你循环遍历帖子,并打印帖子标题以及每个帖子关联的标签列表。
你将会得到类似以下的输出:
Output
Post The First
[<Tag "animals">, <Tag "writing">]
---
Post The Third
[<Tag "cooking">, <Tag "tech">, <Tag "writing">]
---
Post The Second
[]
---
你可以使用tag.name访问标签名称,如以下示例所示,在Flask shell中运行:
在这里,除了打印帖子标题之外,你还循环遍历每个帖子的标签并打印标签名称。
你将会得到类似以下的输出:
OutputTITLE:  Post The First
-
TAGS:
>  animals
>  writing
------------------------------
TITLE:  Post The Third
-
TAGS:
>  cooking
>  tech
>  writing
------------------------------
TITLE:  Post The Second
-
TAGS:
------------------------------
正如你所看到的,你在init_db.py程序中添加的标签已经与它们所标记的帖子正确关联了。
要查看如何通过tag.posts访问具有特定标签的帖子的演示,请在Flask shell中运行以下代码:
你导入了Tag模型。然后,你在query属性上使用filter_by()方法,传递一个name参数来获取writing标签,然后使用first()方法获取第一个结果。你将标签对象存储在名为writing_tag的变量中。有关filter_by方法的更多信息,请参见如何使用Flask-SQLAlchemy与Flask应用程序中的数据库进行交互的第4步教程。
你遍历了通过writing_tag.posts访问的带有writing标签的帖子。你打印帖子的标题、内容以及你使用列表推导式基于帖子的标签(通过post.tags访问)构造的标签名称列表。
你将会得到类似以下的输出:
OutputPost The Third
------
Content for the third post
-
['cooking', 'tech', 'writing']
--------------------
Post The First
------
Content for the first post
-
['animals', 'writing']
--------------------
这里你看到了两篇被标记为writing的帖子,并且标签名称以Python列表的形式显示。
现在你可以访问帖子及其标签,并访问特定标签的帖子。
你已经添加了一个表示标签表的数据库模型。你使用一个关联表来在帖子和标签之间建立关联,并向数据库中插入了一些标签,并使用它们标记了帖子。你访问了帖子及其标签,以及单个标签的帖子。接下来,你将使用 Flask shell 来添加新的帖子和新的标签,并在标签和帖子之间建立关联,并学习如何从帖子中移除标签。
第 3 步 —— 管理多对多关系中的数据
在这一步中,你将使用 Flask shell 来向数据库中添加新的帖子、添加标签,并在帖子和标签之间建立关联。你将访问带有标签的帖子,并学习如何在多对多关系中解除项目之间的关联。
首先,确保你的编程环境已激活,并打开 Flask shell(如果还没有):
接下来,添加一些帖子和标签:
from app import db, Post, Tag

life_death_post = Post(title='A post on life and death', content='life and death')
joy_post = Post(title='A post on joy', content='joy')

life_tag = Tag(name='life')
death_tag = Tag(name='death')
joy_tag = Tag(name='joy')

life_death_post.tags.append(life_tag)
life_death_post.tags.append(death_tag)
joy_post.tags.append(joy_tag)

db.session.add_all([life_death_post, joy_post, life_tag, death_tag, joy_tag])

db.session.commit()
这将创建两个帖子和三个标签。你使用相关的标签标记帖子,并使用 add_all() 方法将新创建的项目添加到数据库会话中。然后,你提交更改,并使用 commit() 方法将其应用到数据库中。
接下来,使用 Flask shell 来获取所有帖子及其标签,就像在上一步中所做的那样:
posts = Post.query.all()

for post in posts:
    print(post.title)
    print(post.tags)
    print('---')
你将得到类似以下的输出:
Output
Post The First
[<Tag "animals">, <Tag "writing">]
---
Post The Third
[<Tag "cooking">, <Tag "tech">, <Tag "writing">]
---
Post The Second
[]
---
A post on life and death
[<Tag "life">, <Tag "death">]
---
A post on joy
[<Tag "joy">]
---
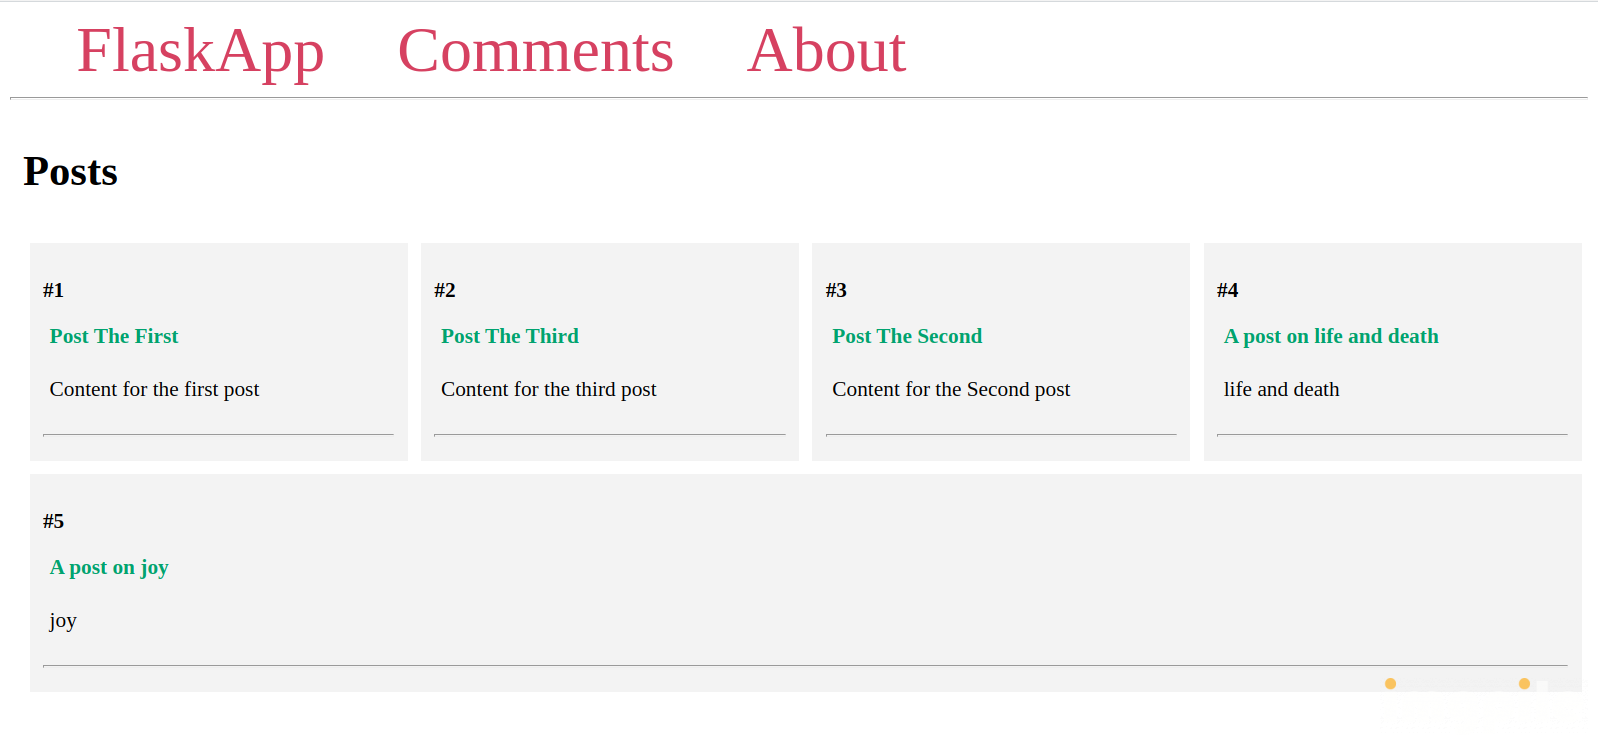
你可以看到帖子已经添加,并带有它们的标签。
为了演示如何在多对多数据库关系中断开两个项目之间的关系,假设第三篇文章不再关于烹饪,因此您需要将烹饪标签从中删除。
首先,获取要删除的帖子和标签:
在这里,您使用filter_by()方法获取标题为第三篇文章的帖子。您获取烹饪标签。您打印帖子的标题、其标签以及带有烹饪标签的帖子。
filter_by()方法返回一个查询对象,您可以使用all()方法获取所有结果的列表。但在这种情况下,我们只期望一个结果,因此您使用first()方法获取第一个(也是唯一的)结果。有关first()和all()方法的更多信息,请查看如何在Flask应用程序中使用Flask-SQLAlchemy与数据库交互的第4步。
您将获得以下输出:
Output
Post The Third


[<Tag "cooking">, <Tag "tech">, <Tag "writing">]


[<Post "Post The Third">]
在这里,您可以看到帖子标题、帖子标签以及带有烹饪标签的帖子列表。
要从帖子中删除烹饪标签,请使用remove()方法,如下所示:
在这里,您使用remove()方法将烹饪标签与帖子解除关联。然后,您使用db.session.commit()方法将更改应用到数据库。
您将获得一个输出,确认标签已从帖子中删除:
Output[<Tag "tech">, <Tag "writing">]

[]
如您所见,cooking 标签不再在 post.tags 列表中,并且该帖子已从 tag.posts 列表中移除。
退出 Flask shell:
您已添加了新帖子和标签。您为帖子添加了标签,并从帖子中删除了标签。接下来,您将在 Flask 网络博客的首页页面中显示每篇帖子的标签。
第四步 —— 在每篇帖子下显示标签
在此步骤中,您将编辑索引模板以在每篇帖子下显示标签。
首先,查看 Flask 网络博客当前首页页面。
在激活编程环境后,使用 FLASK_APP 环境变量告诉 Flask 应用程序(在这种情况下是 app.py)。然后将 FLASK_ENV 环境变量设置为 development 以在开发模式下运行应用程序:
接下来,运行应用程序:
在开发服务器运行时,在浏览器中访问以下 URL:
http://127.0.0.1:5000/
您将看到类似于以下内容的页面:
保持开发服务器运行,并打开一个新的终端窗口。
您需要在两个页面上显示每篇帖子的标签:在索引页面上的每篇帖子下方和在帖子页面上的帖子内容下方。您将使用相同的代码来显示标签。为了避免代码重复,您将使用一个Jinja宏,它类似于Python函数。宏包含可以在调用宏的任何地方显示的动态HTML代码,并且在应用更改时在调用过它的任何地方都会生效,这使得代码可重用。
首先,在您的templates目录中新建一个名为macros.html的文件:
将以下代码添加到其中:
保存并关闭该文件。
在这里,您使用macro关键字声明了一个名为display_tags()的宏,带有一个名为post的参数。您使用<div>标签,在其中显示了一个<h4>标题。您使用for循环来遍历将作为参数传递给宏的帖子对象的标签,类似于在Python函数调用中传递参数。您通过post.tags获取标签。您在<a>标签内显示标签名称。稍后您将编辑href属性的值,以链接到您将创建的标签页面,该页面显示了使用特定标签标记的所有帖子。您使用endmacro关键字指定宏的结束。
接下来,要在索引页面上的每篇帖子下方显示标签,请打开index.html模板文件:
首先,您需要从macros.html文件中导入display_tags()宏。在{% extends 'base.html' %}行上方的顶部添加以下导入:
接下来,通过以下方式调用display_tags()宏,编辑for post in posts循环:
保存并关闭文件。
您调用display_tags()宏,将post对象传递给它。这将在每个帖子下显示标签名称。
在浏览器中刷新首页,您将看到每个帖子下都有标签,如下图所示:

接下来,您将在帖子页面的内容下方添加标签。打开post.html模板文件:
首先,在顶部导入display_tags宏:
然后,在帖子内容下方、<hr>标签上方调用display_tags()宏,将post对象传递给它:
<div class="post">
    <p><b>#{{ post.id }}</b></p>
    <b>
        <p class="title">{{ post.title }}</p>
    </b>
    <div class="content">
        <p>{{ post.content }}</p>
    </div>

    {{ display_tags(post) }}

    <hr>
    <h3>Comments</h3>
保存并关闭文件。
现在,导航至帖子页面:
http://127.0.0.1:5000/2
您将看到标签以与首页显示的标签相同的方式显示。
您已经在每个帖子下显示了添加的标签。接下来,您将在Flask应用程序中添加一个新的路由,以显示所有带有特定标签的帖子。然后,您将使本步骤中显示的标签链接具有功能性。
第5步 — 显示标签及其文章
在这一步中,您将为您的Web应用程序添加一个路由和一个模板,以显示您数据库中的标签及其文章。
首先,您将添加一个用于显示每个标签文章的路由。例如,路由/tags/tag_name/将显示一个页面,其中显示所有以名为tag_name的标签标记的文章。
打开app.py进行编辑:
在文件末尾添加以下路由:
# ...

@app.route('/tags/<tag_name>/')
def tag(tag_name):
    tag = Tag.query.filter_by(name=tag_name).first_or_404()
    return render_template('tag.html', tag=tag)
保存并关闭文件。
这里使用了一个名为tag_name的URL变量,该变量确定要显示在标签页面上的标签及其标记的文章。标签名称通过tag()视图函数的tag_name参数传递,您使用该参数在filter_by()方法上查询标签。您使用first_or_404()来获取标签对象并将其存储在一个名为tag的变量中,或者在数据库中不存在给定名称的标签时,响应一个404 Not Found错误消息。
然后,您渲染一个名为tag.html的模板文件,并将tag对象传递给它。
打开新的templates/tag.html进行编辑:
向其中添加以下代码:
保存并关闭文件。
你从macros.html中导入了display_tags()宏,并扩展了基础模板。
在内容块中,你使用标签名称设置了一个标题。然后,通过tag.posts访问给定标签的帖子并进行循环。你展示了帖子ID、帖子标题和帖子内容。然后,调用display_tags()宏来显示所有帖子标签。
在运行开发服务器后,导航至以下网址:
http://127.0.0.1:5000/tags/writing/
这是writing标签的页面。如你所见,显示了所有使用writing标签标记的帖子:

现在编辑display_tags()宏以使标签链接可用。打开macros.html:
编辑href属性的值如下:
保存并关闭文件。
刷新使用display_tags()宏的页面,你会看到标签链接现在是可用的:
http://127.0.0.1:5000/
http://127.0.0.1:5000/2/
http://127.0.0.1:5000/tags/writing/
正如你所见,使用Jinja宏可以重用代码,编辑宏会跨多个模板应用更改。
你添加了用于单个标签的页面,用户可以查看使用特定标签标记的所有帖子,并且帖子下的标签现在链接到这个新页面。
结论
您添加到博客系统的标签功能展示了如何使用Flask-SQLAlchemy扩展管理多对多关系。您学会了如何使用关联表(也称为连接表)链接两个相关表,将一个条目与另一个相关联,将条目添加到数据库中,并访问和取消与条目相关的数据。
如果您想了解更多关于Flask的信息,请查看如何使用Flask构建Web应用系列中的其他教程。