


Spring Controllerアノテーションは、@Componentアノテーションの特殊化です。Spring Controllerアノテーションは、通常、RequestMappingアノテーションに基づいたアノテーション付きハンドラーメソッドと組み合わせて使用されます。
Spring Controller
Spring Controllerアノテーションは、クラスにのみ適用できます。これはクラスをWebリクエストハンドラーとしてマークするために使用されます。これは主にSpring MVCアプリケーションで使用されます。
Spring RestController
Spring @RestControllerは、自体が@Controllerおよび@ResponseBodyで注釈付けされた便利な注釈です。このアノテーションは、クラスをRESTful Webサービスのリクエストハンドラーとしてマークするために使用されます。
Spring Controllerの例
単純なSpringアプリケーションを作成しましょう。標準のMVCコントローラとRESTコントローラを実装します。Eclipseで「Dynamic Web Project」を作成し、それをMavenプロジェクトに変換します。これにより、MavenベースのWebアプリケーション構造が提供され、それをベースにアプリケーションを構築できます。以下の画像は、Spring MVCコントローラーアプリケーションの最終プロジェクト構造を示しています。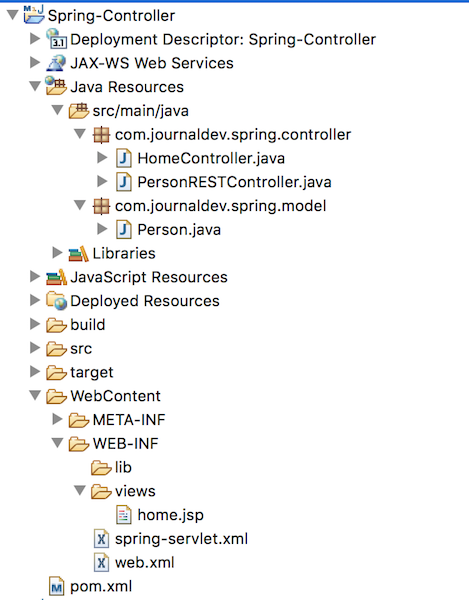 アプリケーションには以下の依存関係が必要です。
<dependency>
	<groupId>org.springframework</groupId>
	<artifactId>spring-webmvc</artifactId>
	<version>5.0.7.RELEASE</version>
</dependency>
<dependency>
	<groupId>org.springframework</groupId>
	<artifactId>spring-web</artifactId>
	<version>5.0.7.RELEASE</version>
</dependency>

<!-- Jackson for REST -->
<dependency>
	<groupId>com.fasterxml.jackson.core</groupId>
	<artifactId>jackson-databind</artifactId>
	<version>2.9.6</version>
</dependency>
デプロイメント記述子(web.xml)を見てみましょう。そこで、DispatcherServletサーブレットをフロントコントローラとして構成します。
<?xml version="1.0" encoding="UTF-8"?>
<web-app xmlns:xsi="https://www.w3.org/2001/XMLSchema-instance" xmlns="https://xmlns.jcp.org/xml/ns/javaee"
 xsi:schemaLocation="https://xmlns.jcp.org/xml/ns/javaee https://xmlns.jcp.org/xml/ns/javaee/web-app_3_1.xsd" id="WebApp_ID" version="3.1">
  <display-name>Spring-Controller</display-name>
  <!-- Add Spring MVC DispatcherServlet as front controller -->
	<servlet>
        <servlet-name>spring</servlet-name>
        <servlet-class>
                org.springframework.web.servlet.DispatcherServlet
        </servlet-class>
        <init-param>
       		<param-name>contextConfigLocation</param-name>
       		<param-value>/WEB-INF/spring-servlet.xml</param-value>
    		</init-param>
        <load-on-startup>1</load-on-startup>
    </servlet>

    <servlet-mapping>
        <servlet-name>spring</servlet-name>
        <url-pattern>/</url-pattern>
    </servlet-mapping>
</web-app>
最後に、以下のSpringコンテキストファイルがあります。ここでは、アプリケーションを注釈ベースに構成し、Springコンポーネントのスキャンのルートパッケージを提供しています。また、InternalResourceViewResolverビーンを構成し、ビューページの詳細を提供しています。
<?xml version="1.0" encoding="UTF-8"?>
<beans:beans xmlns="https://www.springframework.org/schema/mvc"
	xmlns:xsi="https://www.w3.org/2001/XMLSchema-instance" xmlns:beans="https://www.springframework.org/schema/beans"
	xmlns:context="https://www.springframework.org/schema/context"
	xsi:schemaLocation="https://www.springframework.org/schema/mvc https://www.springframework.org/schema/mvc/spring-mvc.xsd
		https://www.springframework.org/schema/beans https://www.springframework.org/schema/beans/spring-beans.xsd
		https://www.springframework.org/schema/context https://www.springframework.org/schema/context/spring-context.xsd">

	<!-- Enables the Spring MVC @Controller programming model -->
	<annotation-driven />

	<context:component-scan base-package="com.journaldev.spring" />

	<!-- Resolves views selected for rendering by @Controllers to JSP resources
		in the /WEB-INF/views directory -->
	<beans:bean
		class="org.springframework.web.servlet.view.InternalResourceViewResolver">
		<beans:property name="prefix" value="/WEB-INF/views/" />
		<beans:property name="suffix" value=".jsp" />
	</beans:bean>

</beans:beans>
設定のXMLファイルが準備されましたので、今度はControllerクラスに移動しましょう。
package com.journaldev.spring.controller;

import java.text.DateFormat;
import java.util.Date;
import java.util.Locale;

import org.springframework.stereotype.Controller;
import org.springframework.ui.Model;
import org.springframework.web.bind.annotation.GetMapping;

@Controller
public class HomeController {

	@GetMapping("/hello")
	public String home(Locale locale, Model model) {
		Date date = new Date();
		DateFormat dateFormat = DateFormat.getDateTimeInstance(DateFormat.LONG, DateFormat.LONG, locale);
		String formattedDate = dateFormat.format(date);
		model.addAttribute("serverTime", formattedDate);
		return "home";
	}

}
単一のリクエストハンドラメソッドが定義されています。それはURI “/hello”へのGETリクエストを受け入れ、応答として “home.jsp”ページを返します。モデルに属性を設定していますが、これはhome.jspページで使用されます。ここに私たちの単純なhome.jspページのコードがあります。
<%@ page language="java" contentType="text/html; charset=UTF-8"
	pageEncoding="UTF-8"%>
<html>
<head>
<title>Home</title>
</head>
<body>
	<h1>Hello world!</h1>

	<p>The time on the server is ${serverTime}.</p>

</body>
</html>
Spring MVCコントローラーテスト
単純なコントローラーを備えた従来のサーブレットベースのSpring MVCアプリケーションが準備されました。WARファイルとしてエクスポートし、Tomcatまたは他のサーブレットコンテナーに展開します。次に、URL https://localhost:8080/Spring-Controller/hello に移動して、以下の画面が出力されるはずです。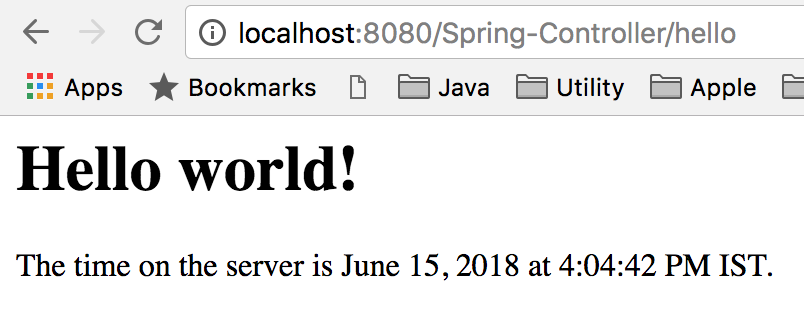
Spring RestControllerの例
さて、アプリケーションを拡張してREST APIも公開しましょう。JSONレスポンスとして送信されるモデルクラスを作成します。
package com.journaldev.spring.model;

public class Person {

	private String name;

	public String getName() {
		return name;
	}

	public void setName(String name) {
		this.name = name;
	}

}
以下は、単純なRESTコントローラークラスです。
package com.journaldev.spring.controller;

import org.springframework.web.bind.annotation.RequestMapping;
import org.springframework.web.bind.annotation.RequestParam;
import org.springframework.web.bind.annotation.RestController;

import com.journaldev.spring.model.Person;

@RestController
public class PersonRESTController {

	@RequestMapping("/rest")
	public String healthCheck() {
		return "OK";
	}

	@RequestMapping("/rest/person/get")
	public Person getPerson(@RequestParam(name = "name", required = false, defaultValue = "Unknown") String name) {
		Person person = new Person();
		person.setName(name);
		return person;
	}

}
REST APIをテストするためにアプリケーションを再展開します。
Spring RESTコントローラーテスト
URL https://localhost:8080/Spring-Controller/rest に移動し、次の出力が得られます。 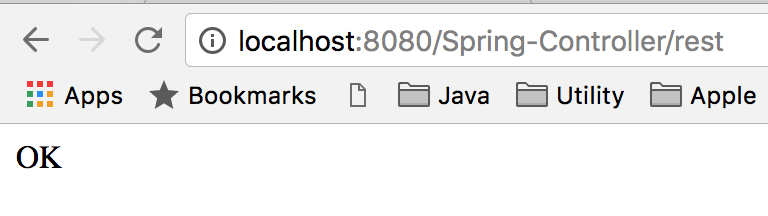 URL
URL https://localhost:8080/Spring-Controller/rest/person/get に移動すると、次のJSON応答が得られます。 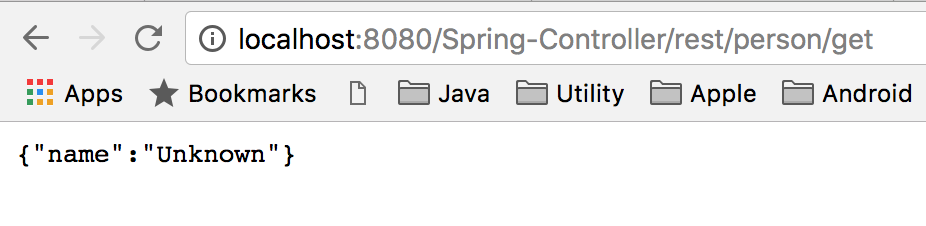 今度はURLに名前パラメータ値を指定し、
https://localhost:8080/Spring-Controller/rest/person/get?name=Pankaj に移動すると、次のJSON応答が得られます。 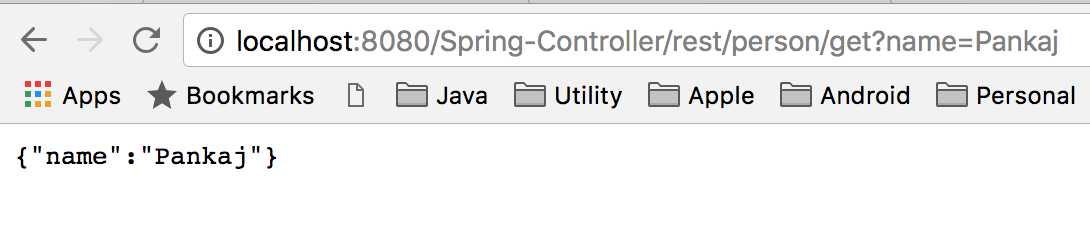
サマリー
Spring Controllerは、Spring MVCアプリケーションの骨格です。 ここがビジネスロジックが始まる場所です。さらに、RestControllerは、RESTベースのWebサービスを簡単に作成するのに役立ちます。
サンプルプロジェクトコードは、GitHubリポジトリ からダウンロードできます。
Source:
https://www.digitalocean.com/community/tutorials/spring-controller-spring-mvc-controller