


Cypress is an end-to-end testing framework that is used to test web applications. It is an open-source JavaScript-based framework that enables developers to write and run automated tests for their web applications in a simple and easy way.
Cypress provides a fast, reliable, and easy-to-use testing experience for web developers. It allows developers to write tests in JavaScript, and its powerful features include automatic reload of tests, time travel debugging, and interactive debugging. Cypress also provides a dashboard to view test results and insights.
GitLab provides integration with Cypress through its CI/CD pipelines. Developers can configure GitLab to run Cypress tests as part of the pipeline and view the test results within the GitLab UI. GitLab also provides the ability to store test artifacts such as screenshots and videos.
About GitLab
GitLab is a web-based Git repository manager that provides source code management, continuous integration/continuous deployment (CI/CD) pipelines, and other related features for software development. It offers a complete DevOps platform that enables teams to collaborate on code, automate builds and tests, and deploy applications.
In addition to Git repository management, GitLab includes features such as issue tracking, code review, automated testing, and container registry. It also provides integration with various third-party tools like Kubernetes, Jira, Jenkins, and many more.
GitLab is an open-source tool and provides on-premises and cloud-based deployment options. It is a popular choice for organizations of all sizes that are looking for an all-in-one solution for their software development needs.
Why GitLab as CI/CD?
GitLab is a popular choice for CI/CD because it provides an all-in-one platform for managing the entire development lifecycle. With GitLab, developers can:
- Manage code repositories: GitLab provides robust source code management capabilities with built-in version control using Git.
- Automate builds and deployments: GitLab provides a built-in CI/CD pipeline that allows developers to automatically build, test, and deploy their code changes.
- Collaborate effectively: GitLab provides an integrated issue tracking system, code review tools, and collaboration features that enable team members to work together more efficiently.
- Increase visibility and transparency: GitLab provides real-time insights into the progress of the development process through its powerful dashboard, enabling developers to monitor builds, deployments, and other key metrics.
- Flexible deployment options: GitLab supports multiple deployment options, including cloud-based and self-hosted solutions, enabling teams to choose the deployment method that best fits their needs.
GitLab CI/CD Workflow
Here’s a GitLab CI/CD workflow diagram:
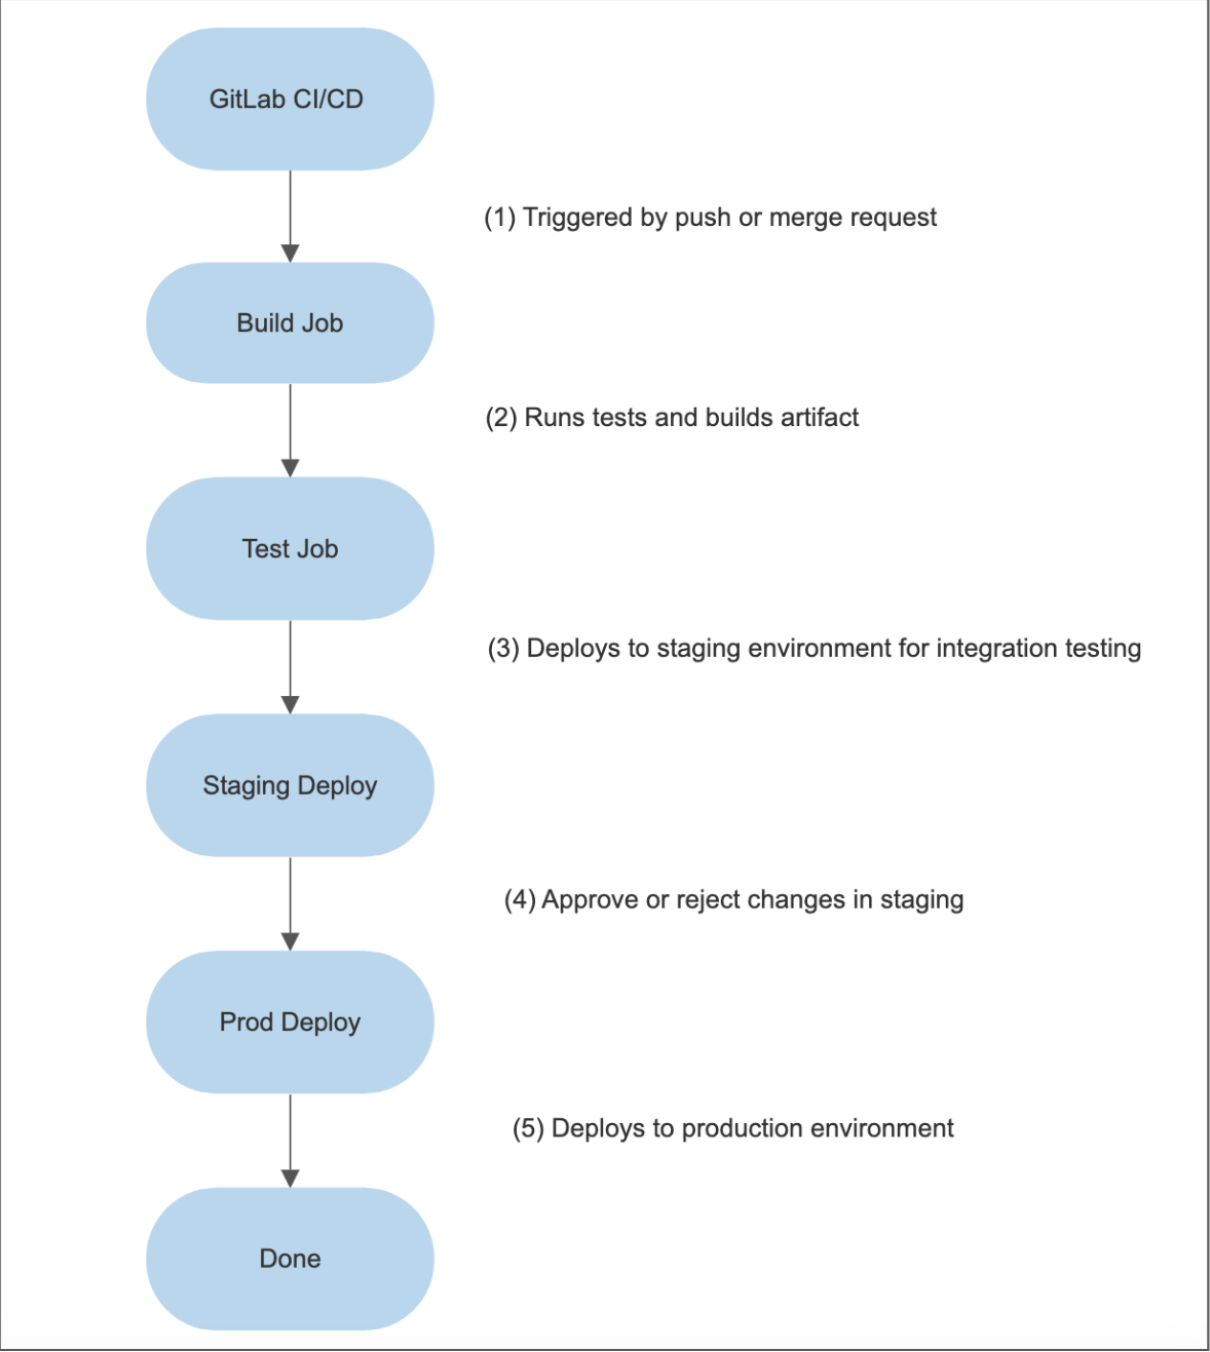
Explanation
- When a push or merge request is made to the repository, GitLab CI/CD is triggered.
- The “Build Job” is responsible for running tests and building the artifact.
- The “Test Job” deploys the artifact to a staging environment for integration testing.
- After the integration testing is complete, the changes are reviewed in the staging environment. If approved, the changes move to the next stage. If rejected, they are sent back to the development stage for further work.
- The “Prod Deploy Job” deploys the changes to the production environment once they have been approved.
- The “Done” stage indicates the entire workflow is complete.
Setting Up GitLab
Below are the steps for GitLab setup:
Prerequisite
Create a GitLab account. If you don’t have a GitLab account, you can sign up for free on GitLab’s official website.
Step 1
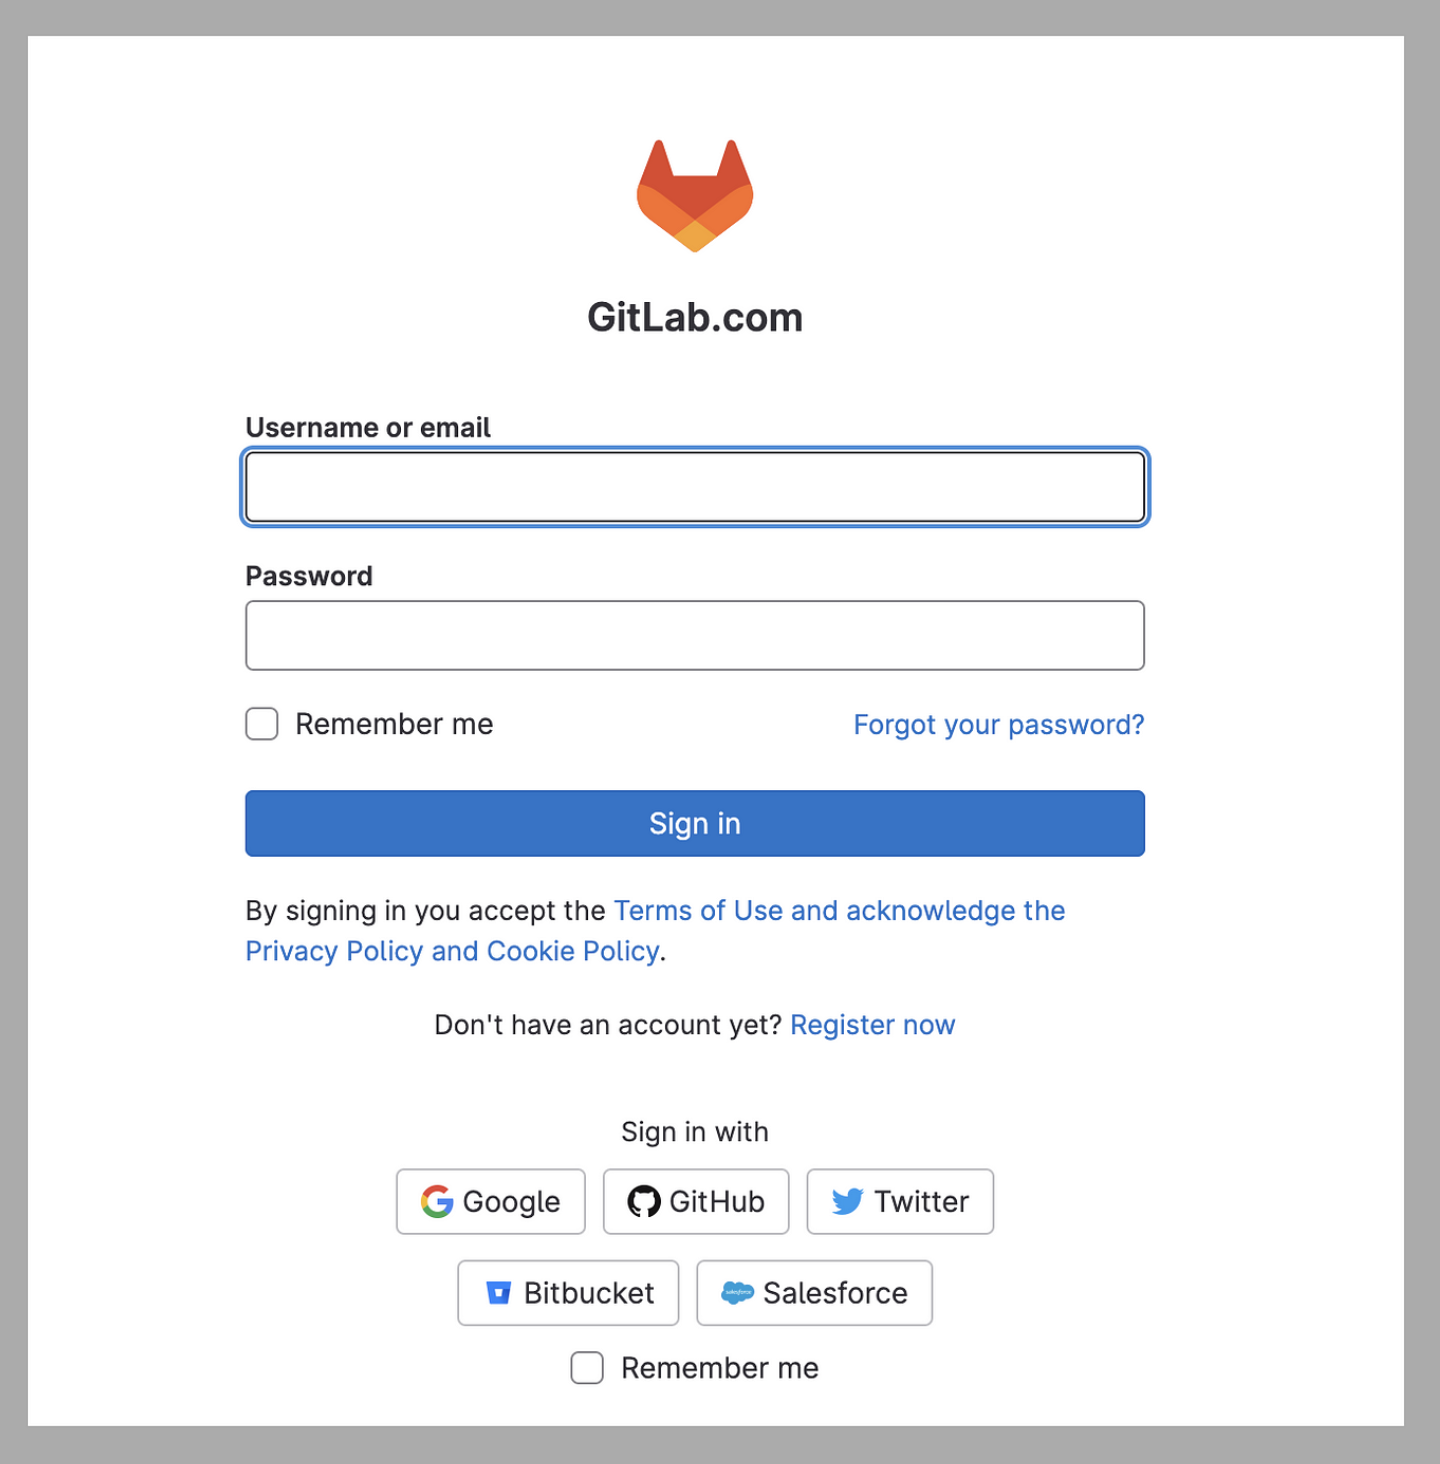
Log into GitLab with one of the provided options:
- GitHub
- Bitbucket
- Salesforce
In my case, I am logging in with my GitHub account.
Step 2
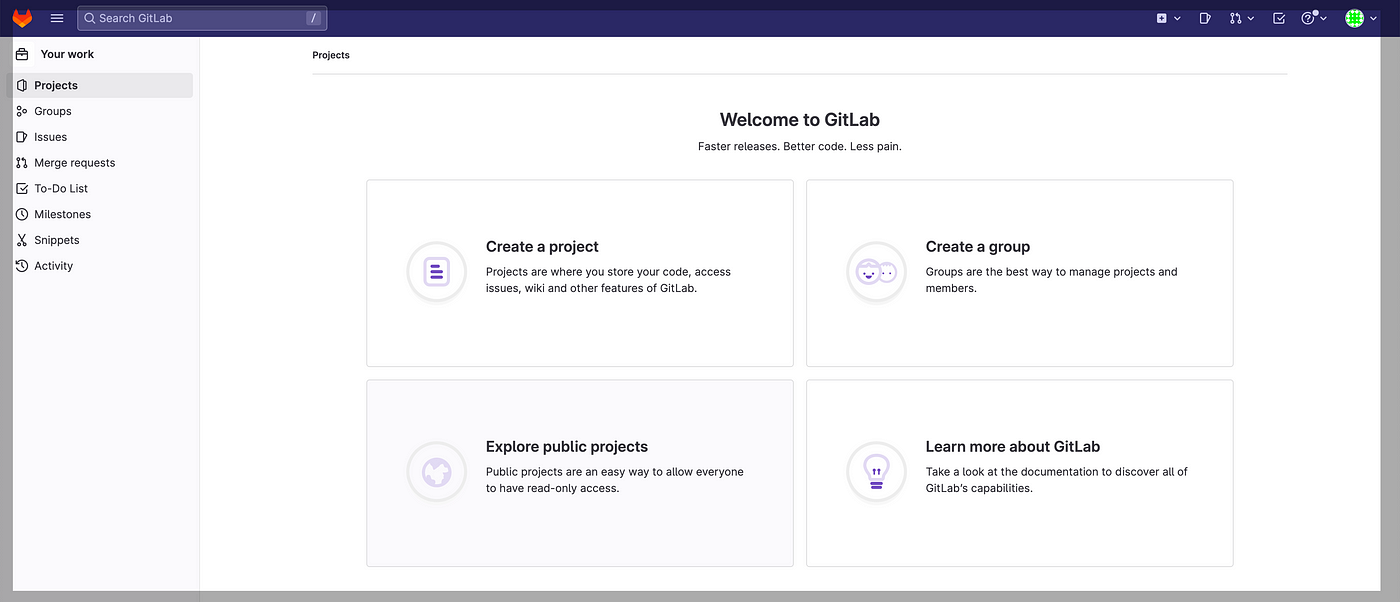
Sign-in with your GitHub account. You will see the screen is open in the screenshot below.
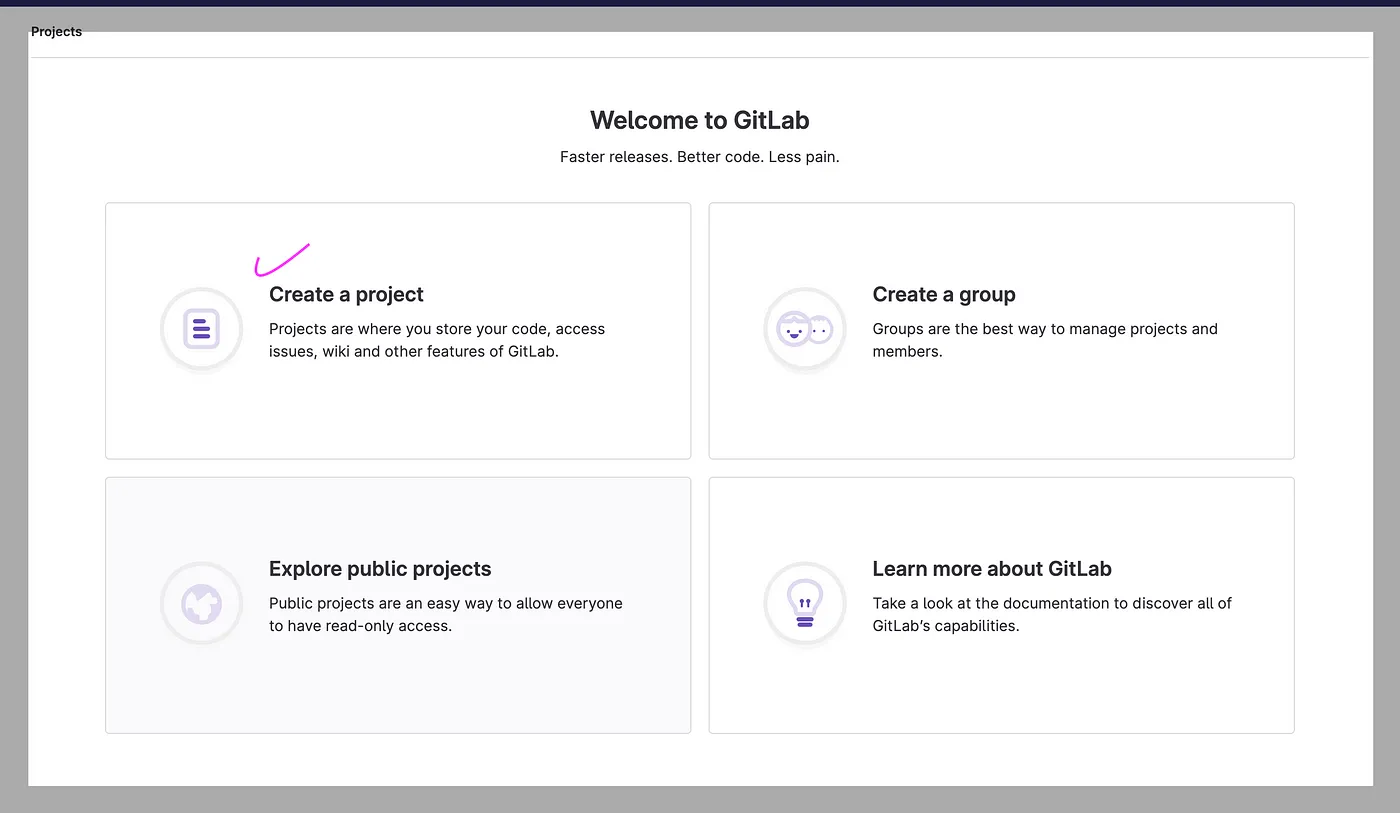
Step 3
Click on “Create a Project.”
Step 4
After clicking on “Create a Project,” the screen below has four options:
- Create blank project
- Create from template
- Import project
- Run CI/CD for external repository
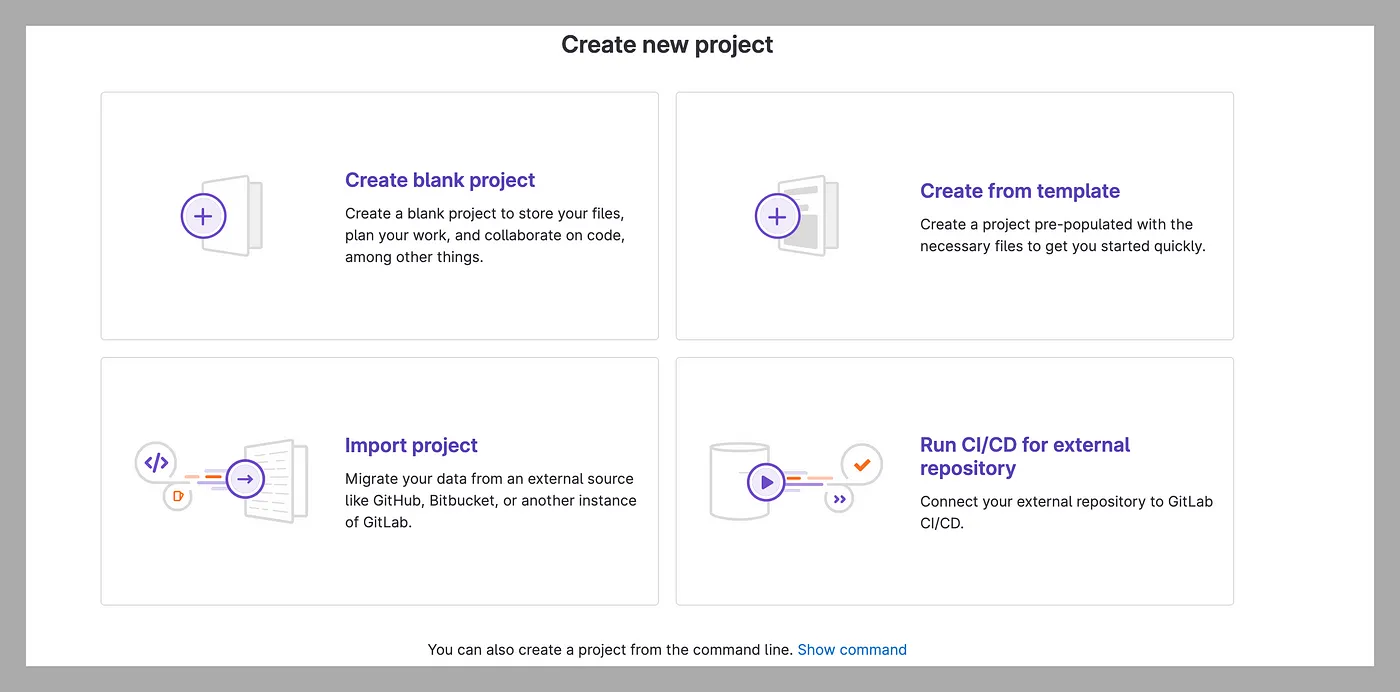
Step 5
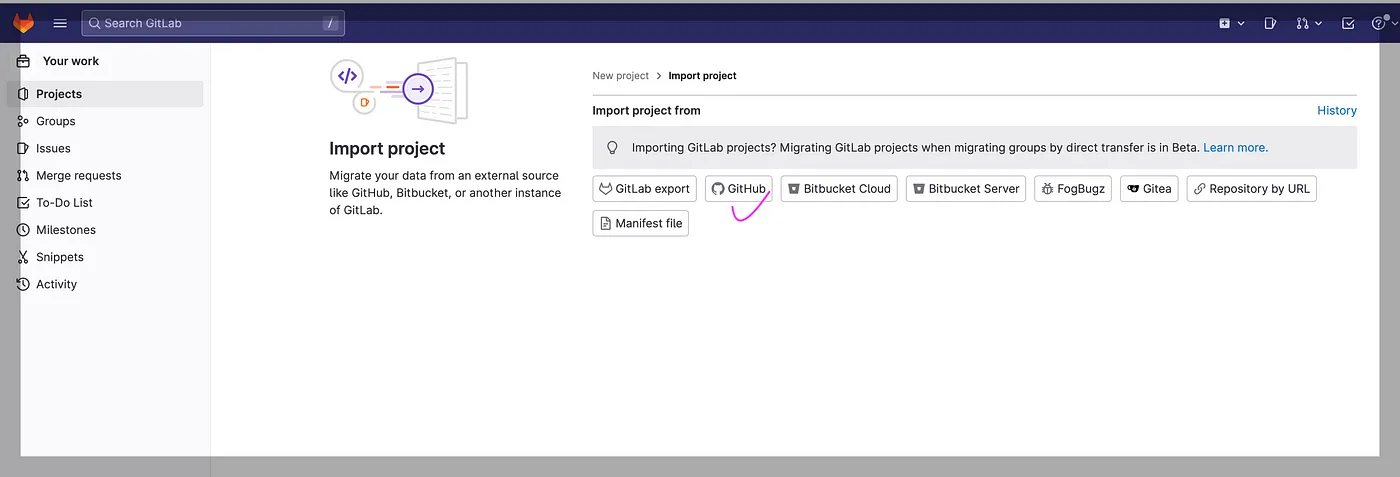
Click on “Import project.”

Lets import from GitHub by clicking on “GitHub.”
Step 6
When we click on “Import,” all existing repositories are display. In the below screen, we can see a total of seventeen repositories are displaying.
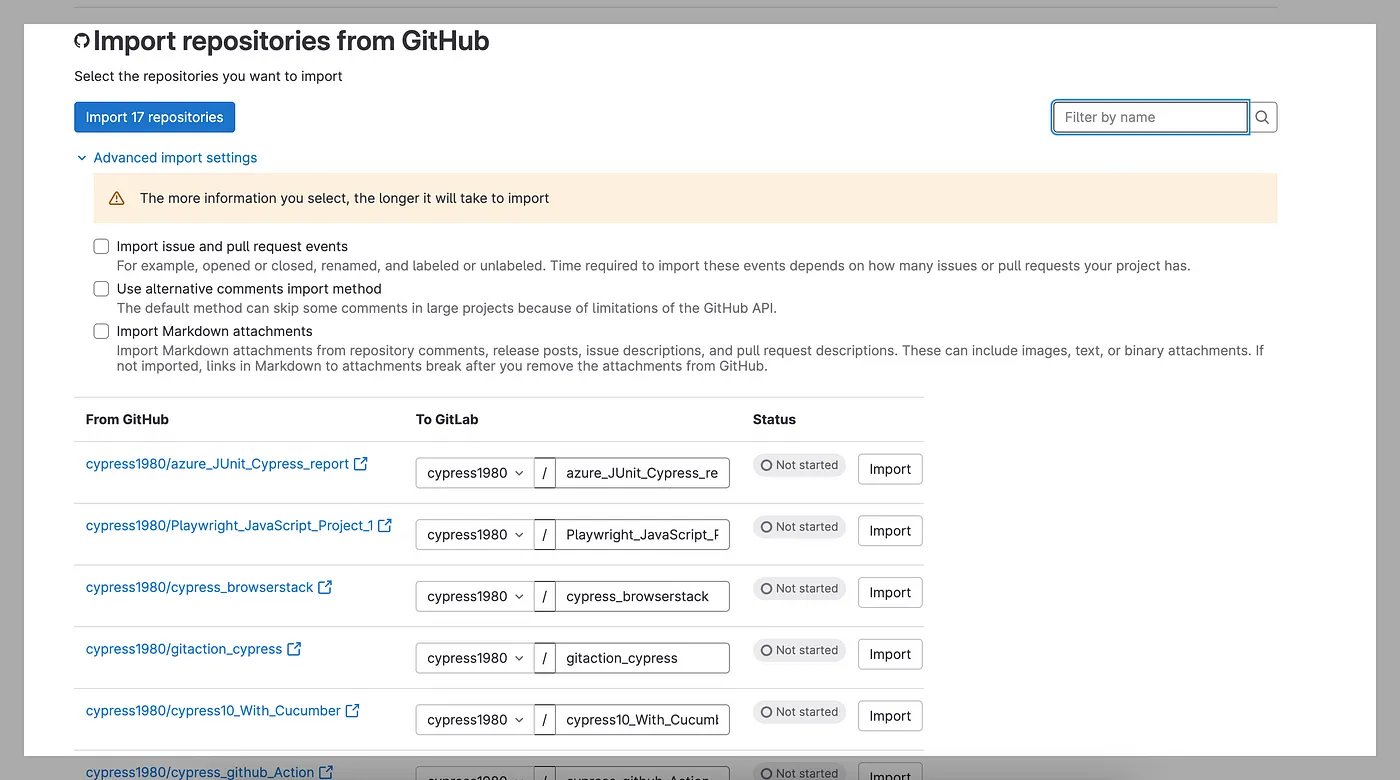
Step 7
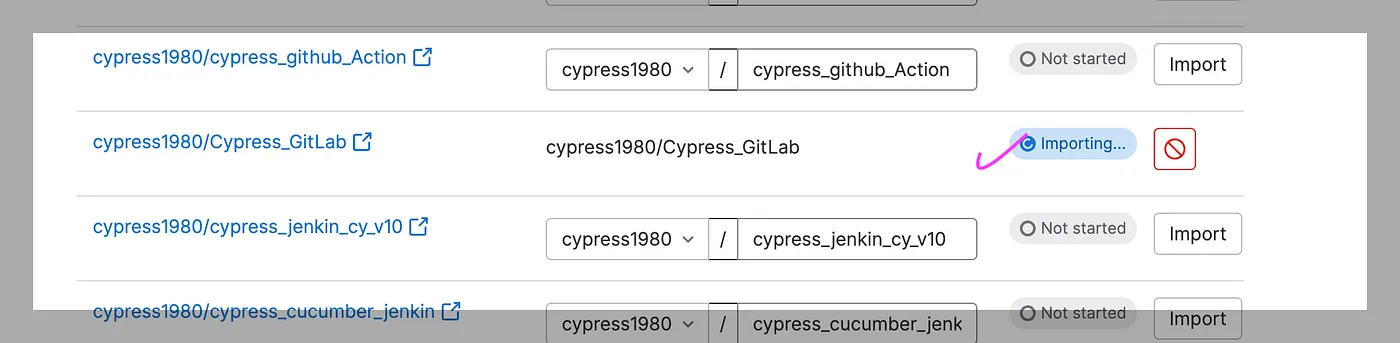
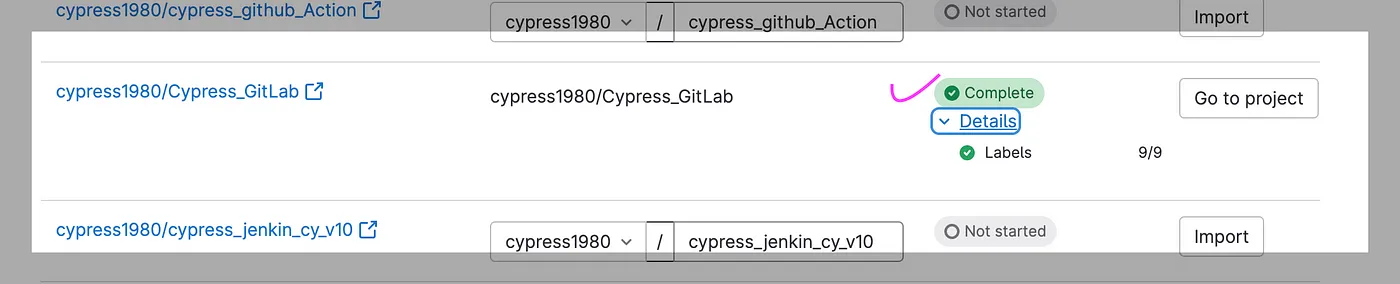
Let’s import the repositories from GitHub ->GitLab. In my case, let’s import the repository to the “Cypress_GitLab.”

After we click on “Import,” the import is started and complete after few minutes.
Step 8
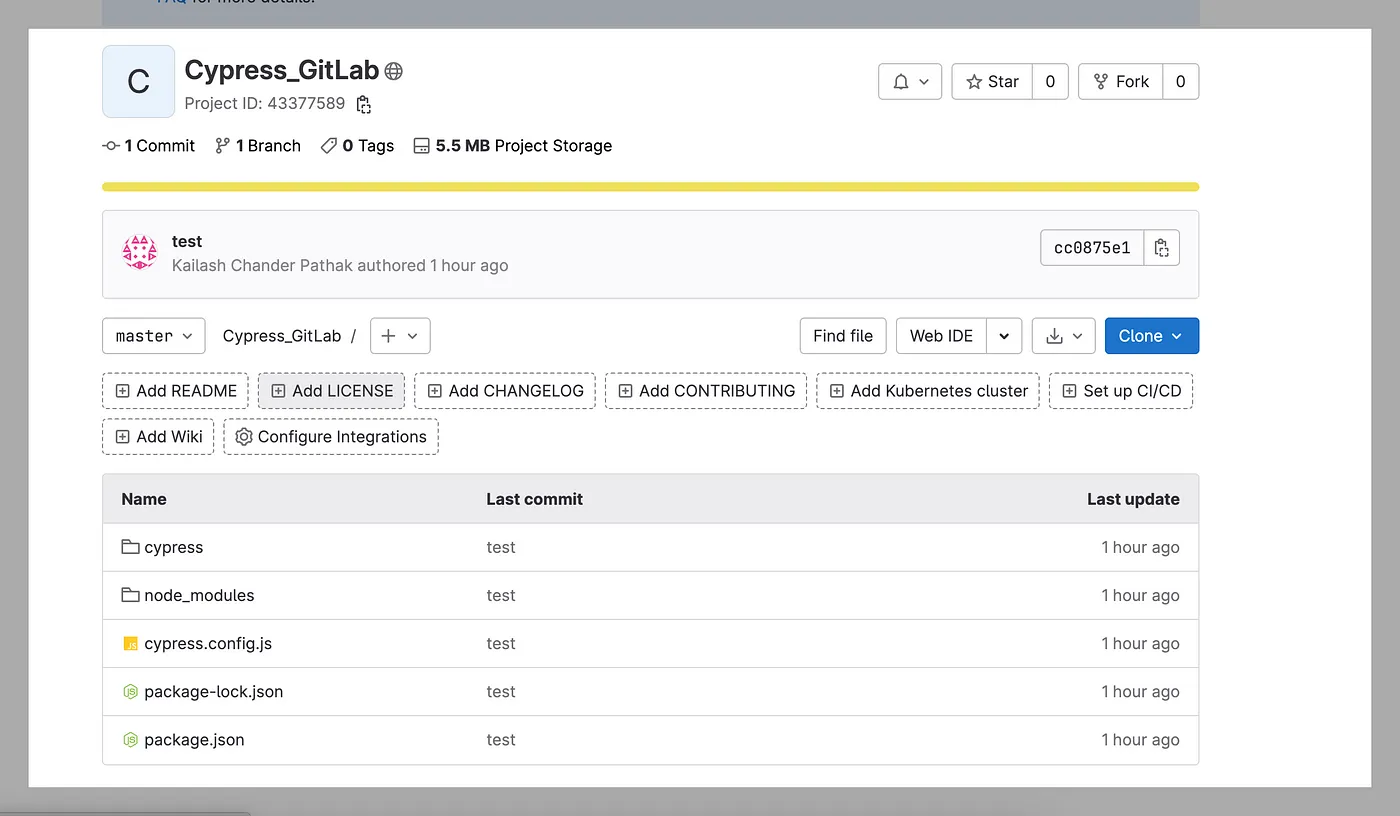
Go to the project, which is shown as open in the screenshot below.
Step 9
Let’s set up the CI/CD by clicking on “Set up CI/CD” from above screen, which will result in the screenshot below.
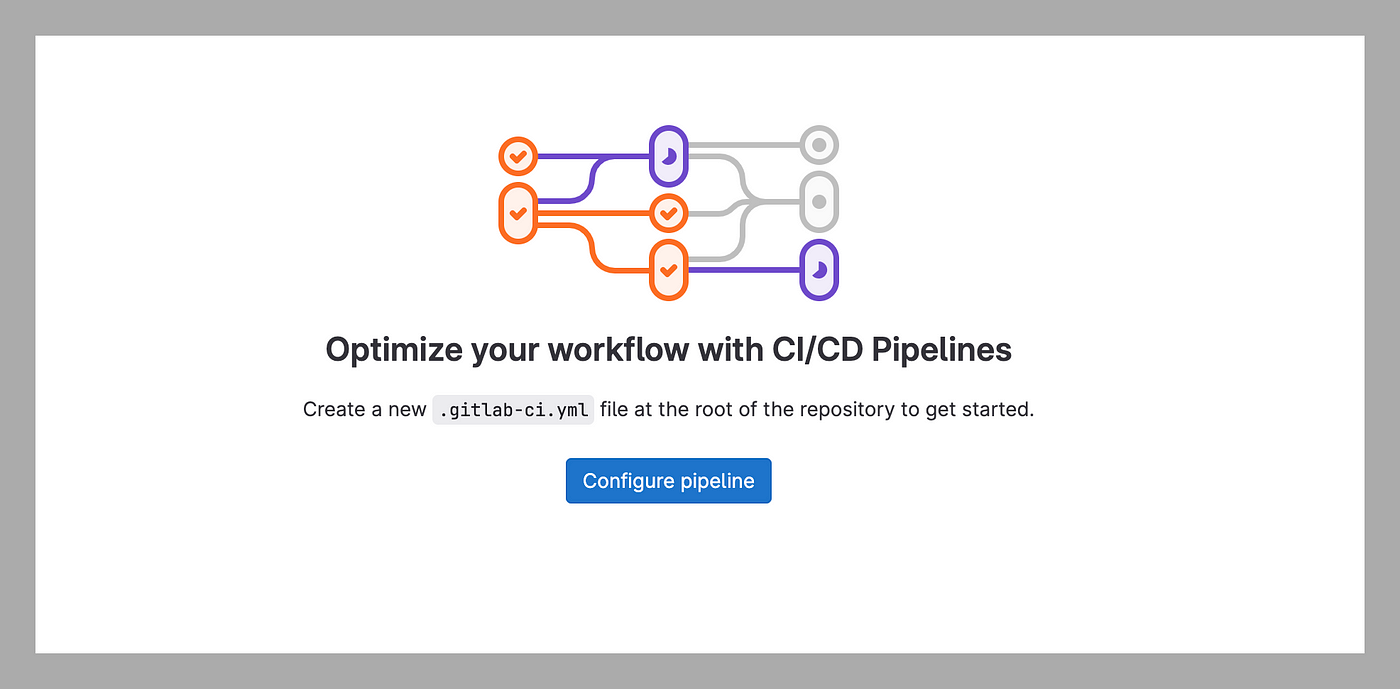
Click on “Configure pipeline,” and it will open the default pipeline.

Step 10
Let’s update the existing .yaml file with the data below:
e2eChrome:
  image: cypress/browsers:node18.12.0-chrome107
  stage: test
  script:
    - npm ci
    - npm run RunTCOnChrome

e2eElectron:
  image: cypress/browsers:node18.12.0-chrome107
  stage: test
  script:
    - npm ci
    - npm run RunTCOnElectron
  artifacts:
    when: always
    paths:
      - cypress/screenshots/
      - cypress/videos/
In the above .yaml file:
image: Specifies the Docker image to use for the job. In this case, we’re using the official Cypress Docker image with Node.js version 18.12.0stages: Defines the different stages for the CI/CD pipeline. In this case, we only have one stage for running the tests.- The
artifactssection is used to capture the test results and make them available for download after the job is completed. In this case, we are capturing the screenshots and videos generated during the test run and making them available in thecypress/screenshots/andcypress/videos/directories, respectively.
Execute Test Case
Below are the test cases I have taken as an example for the demo purpose.
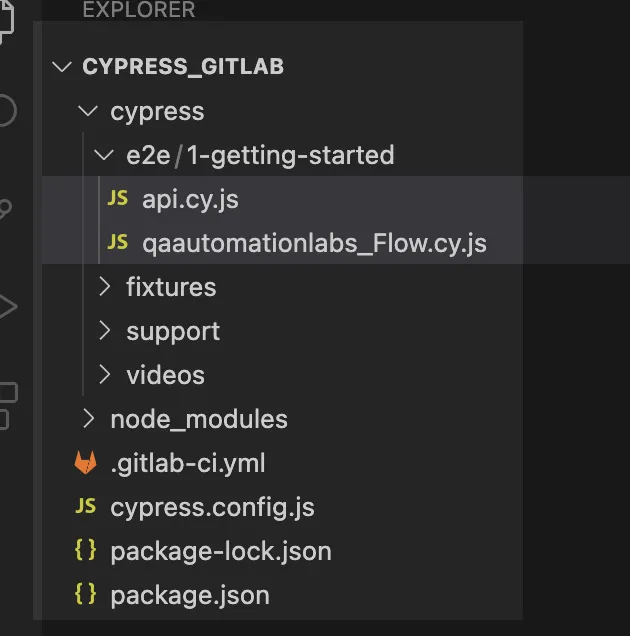
1. File: api.cy.js
In this test case, we are performing the CRUD operation:
describe('API automation Test Case:', () => {
    it("GET API testing Using Cypress API Plugin", () => {
        cy.request("GET", "https://reqres.in/api/users?page=2").should((response) => {
          expect(response.status).to.eq(200);
        });
      });

      it("POST API testing Using Cypress API Plugin", () => {
        cy.request("POST", "https://reqres.in/api/users", {
          name: "morpheus",
          job: "leader",
        }).should((response) => {
          expect(response.status).to.eq(201);
        });
      });

      it("PUT API testing Using Flip Plugin", () => {
        cy.request("PUT", "https://reqres.in/api/users/2", {
          name: "morpheus",
          job: "zion resident",
        }).should((response) => {
          expect(response.status).to.eq(200);
        });
      });

      it("DELETE API testing Using Cypress API Plugin", () => {
        cy.request("DELETE", "https://reqres.in/api/users/2").should((response) => {
          expect(response.status).to.eq(204);
        });
      });
    })
2. File: qaautomationlabs_Flow.cy.js
In this test case, we are opening this site.
Steps
- Open the above URL.
- Click on the “Read More” button.
- Verify “Particular Blog.”
- Click on the blog link and search the data.
/// <reference types="cypress" />

describe("QAAutomationLabs.com", { testIsolation: false }, () => {
  it("Open URL", () => {
    cy.visit("https://qaautomationlabs.com/");
  });
  it("Click on Read More ", () => {
    cy.get(".staticslider-button").click();
  });
  it("Verify Particular Blog ", () => {
    cy.contains(
      "Running End-to-End Cypress Test cases In Google Cloud Build Pipeline"
    );
  });
  it("Click on Blogs", () => {
    cy.contains("Blog").scrollIntoView().click({ force: true });
  });
  it("Search the data", () => {
    cy.get('[id="wp-block-search__input-2"]').scrollIntoView();
    cy.get('[id="wp-block-search__input-2"]')
      .click({ force: true })
      .type("cypress");
    cy.get('[id="search-icon"]').click({ force: true });
    cy.contains("Search Results for: cypress");
  });
});
The package.json looks like the attached:
{
  "name": "cypress_gitlab",
  "version": "1.0.0",
  "description": "",
  "main": "index.js",
  "scripts": {
    "RunTCOnChrome": "cypress run --browser chrome",
    "RunTCOnElectron": "cypress run --browser electron"
  },
  "author": "Kailash Pathak",
  "license": "ISC",
  "devDependencies": {
    "cypress": "^12.5.1"
  }
}
Trigger the Job from GitLab or Push the Code
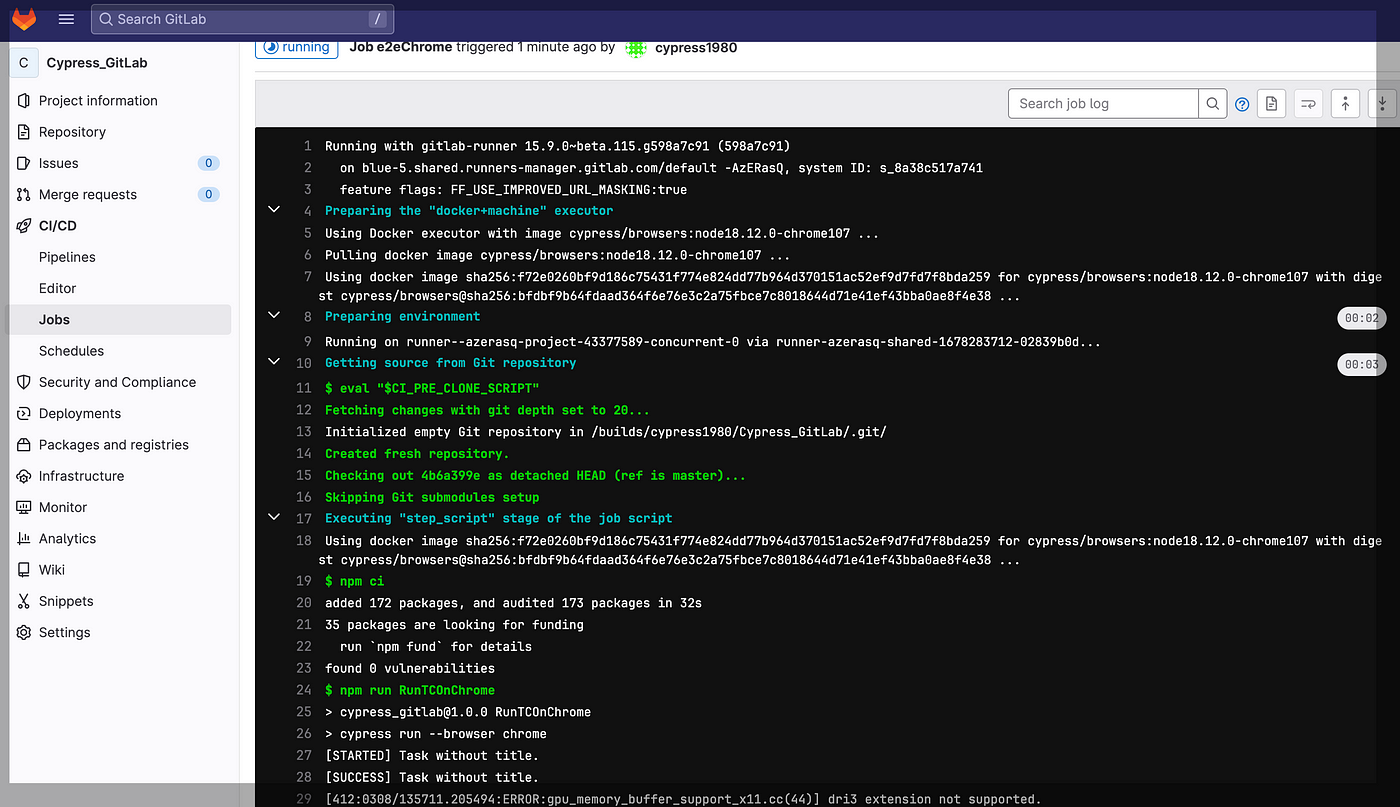
As we trigger the job from GitLab or push any code, the Job is triggered. Test cases start executing in Chrome and Electron.

As we trigger the job in the console, we can see the first required dependency install. After, the test case starts executing.
Test Case Execution Report
Chrome
In the below screenshot, we can see test case executed successfully in Chrome.
Electron
In the screenshot below, we can see the test case executed successfully in Electron.
Let’s Wrap Up
Cypress and GitLab can be used together to create a robust and efficient software development pipeline. By integrating Cypress with GitLab’s CI/CD pipelines, developers can automate the testing process and ensure new code changes don’t introduce any issues or regressions.
Source:
https://dzone.com/articles/how-to-execute-cypress-e2e-test-cases-using-cicd-gitlab